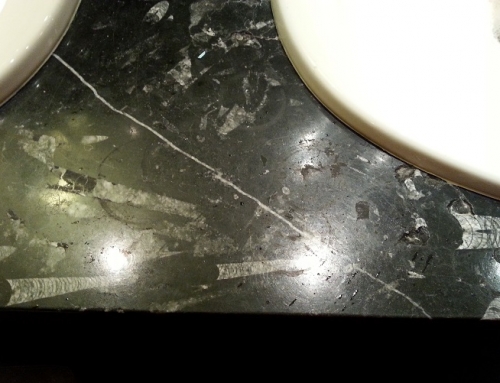
It is important to apply a sealer to any type of natural stone in your home. Natural stone is a very porous material, and you need to make sure that it is sealed at all times in order to help prevent staining or discoloration. Sealing granite or marble can be a ‘Do It Yourself’ project, but only if your stone is not already showing signs of wear-and-tear. If the stone is dull, scratched, stained, etc., the stone needs to be restored by an expert prior to sealing. Always follow the steps on the bottle of sealer you purchase, but here are some guidelines of what you can expect:
Step 1 – Choosing the sealer: To begin, you must find the right type of sealer. Go to a tile supply store or home improvement warehouse to purchase a product that is designated for natural stone tile. You should look for a solvent-based, penetrating sealer, which will soak deep into the pores of the stone and seal them so that liquid will not seep into the stone. There are many brands on the market, but keep in mind that the least expensive may not be as high quality as pricier brands. We suggest using a brand such as Miracle Sealants, which can be found at Home Depot.
Step 2 – Preparation: Before you apply the sealer, you need to make sure that the area is properly prepared. If you have recently installed the stone, make sure that you allow it plenty of time to set up; otherwise, you could seal in moisture under the stone and in the grout. You also have to make sure that the area is completely clean. If there is any dirt or dust still on the tile when you seal it, it will be stuck under the sealant. Use a broom to sweep any excess dirt off of tile floors; then use a mop and some water to thoroughly clean the tile, and allow ample time to dry. Use a microfiber cloth and a pH-neutral cleaner or water on counters to remove any grease or debris that remains on the surface of the stone.
Step 3 – Applying the sealer: Once the area is prepared and dried, you can apply the sealer to the stone with a microfiber rag. Apply with even strokes until the entire area is covered with the sealer. Do not let the sealer dry on the surface without buffing off the excess first as it will make the stone look cloudy and streaky. Keep a rag damp with sealer close by so that if the sealer starts to dry, you can reapply the sealer and then buff the excess off.
Step 4 – Dry: Check the sealer packaging for instructions about drying time. Allow it to dry so that you can no longer see the wet sealer on the stone.
Step 5 – Reapply: You may need to apply a second or third coat of the sealer. Continue applying coats and letting them dry until when you drop a bit of water on the tile, it beads up instead of absorbing into the stone.
These steps are basic guidelines for sealing natural stone, however some stones may require slightly different instructions. If you are unsure of the sealing process at any time, always contact the experts to ensure the proper care of your stone.
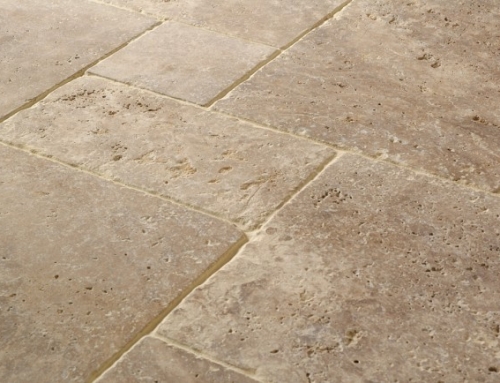
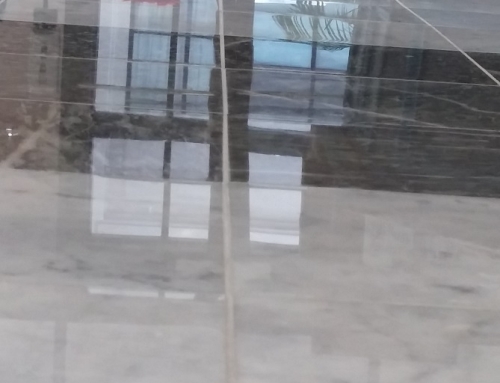
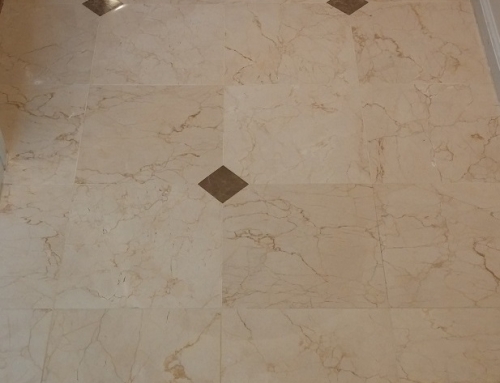
For additional care tips for your marble, granite, travertine, terrazzo or other natural stone and grout, please visit our Care Tips page! If you have additional questions or would like to schedule a free estimate with one of our stone care experts, please contact us today!