
We recently received a customer call to repair the seams on her master bathroom vanity and restore the stone to its original luster. Our crew was contracted to take care of both projects, beginning with the seam repair and finishing up with a complete restoration of the vanity to remove the damage that was caused from years of use. Here is the step-by-step process that was used to take care of the seam repairs with some photos to show the repairs at each stage.
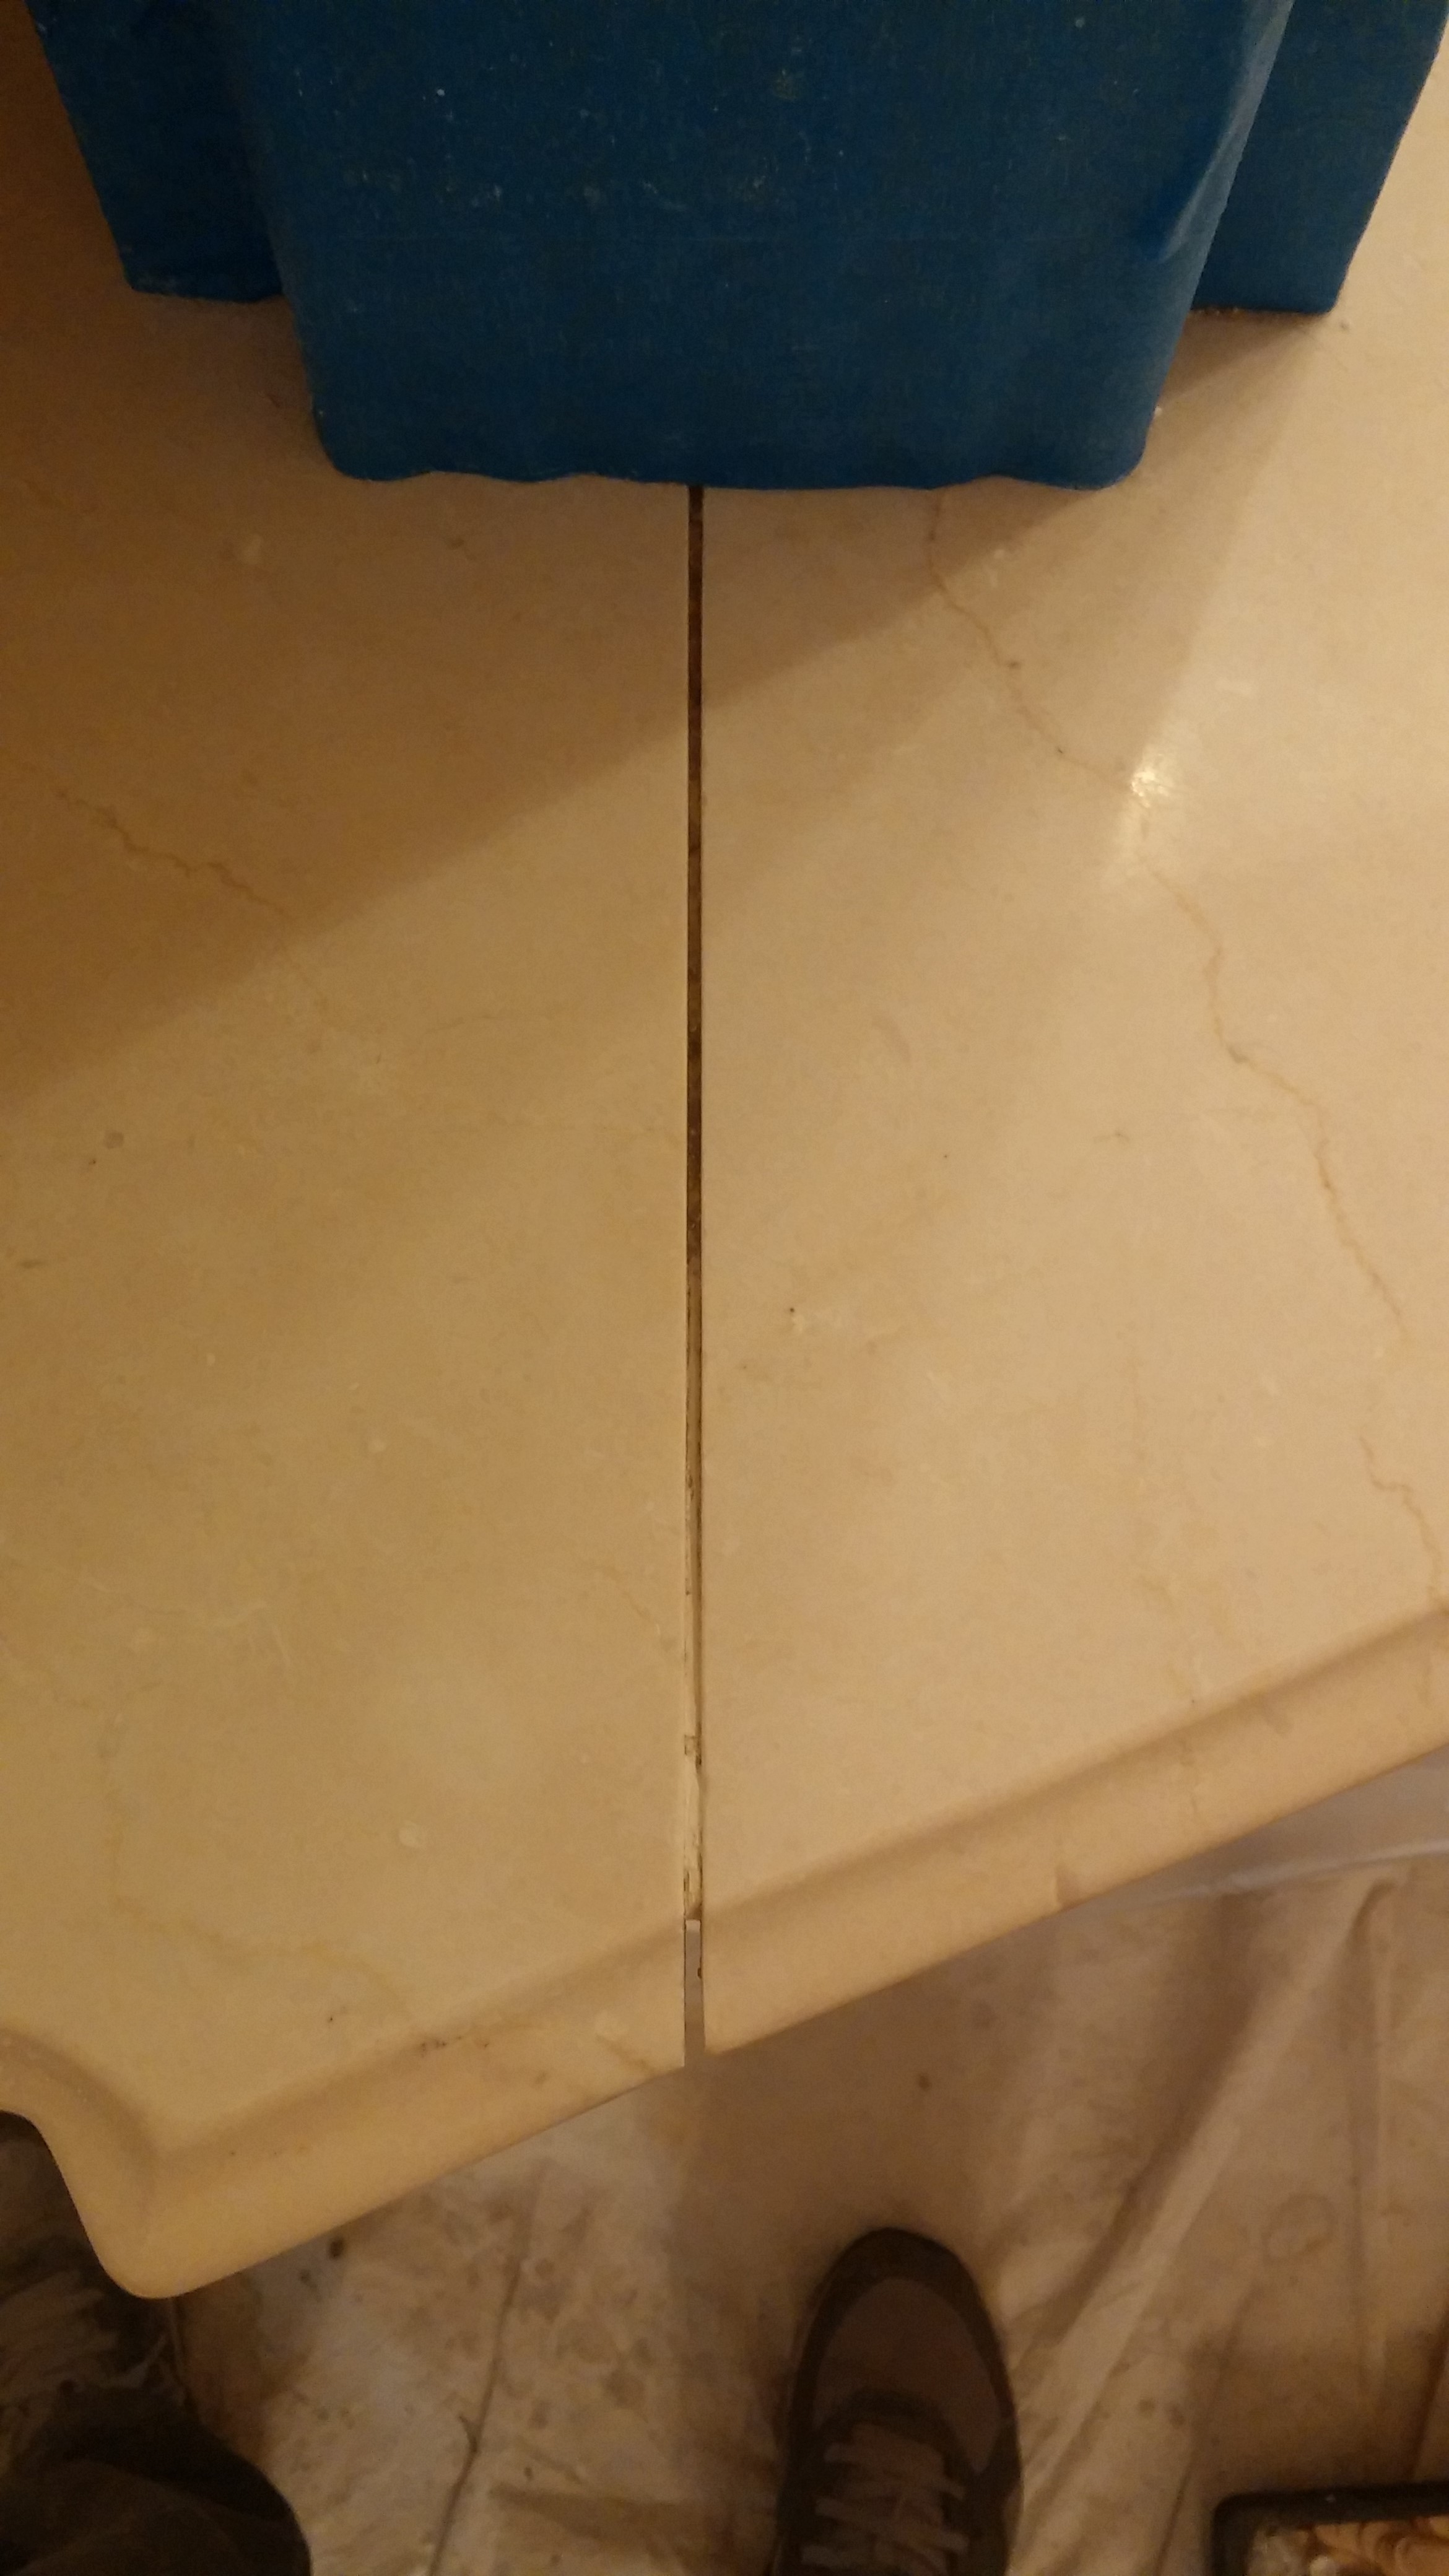
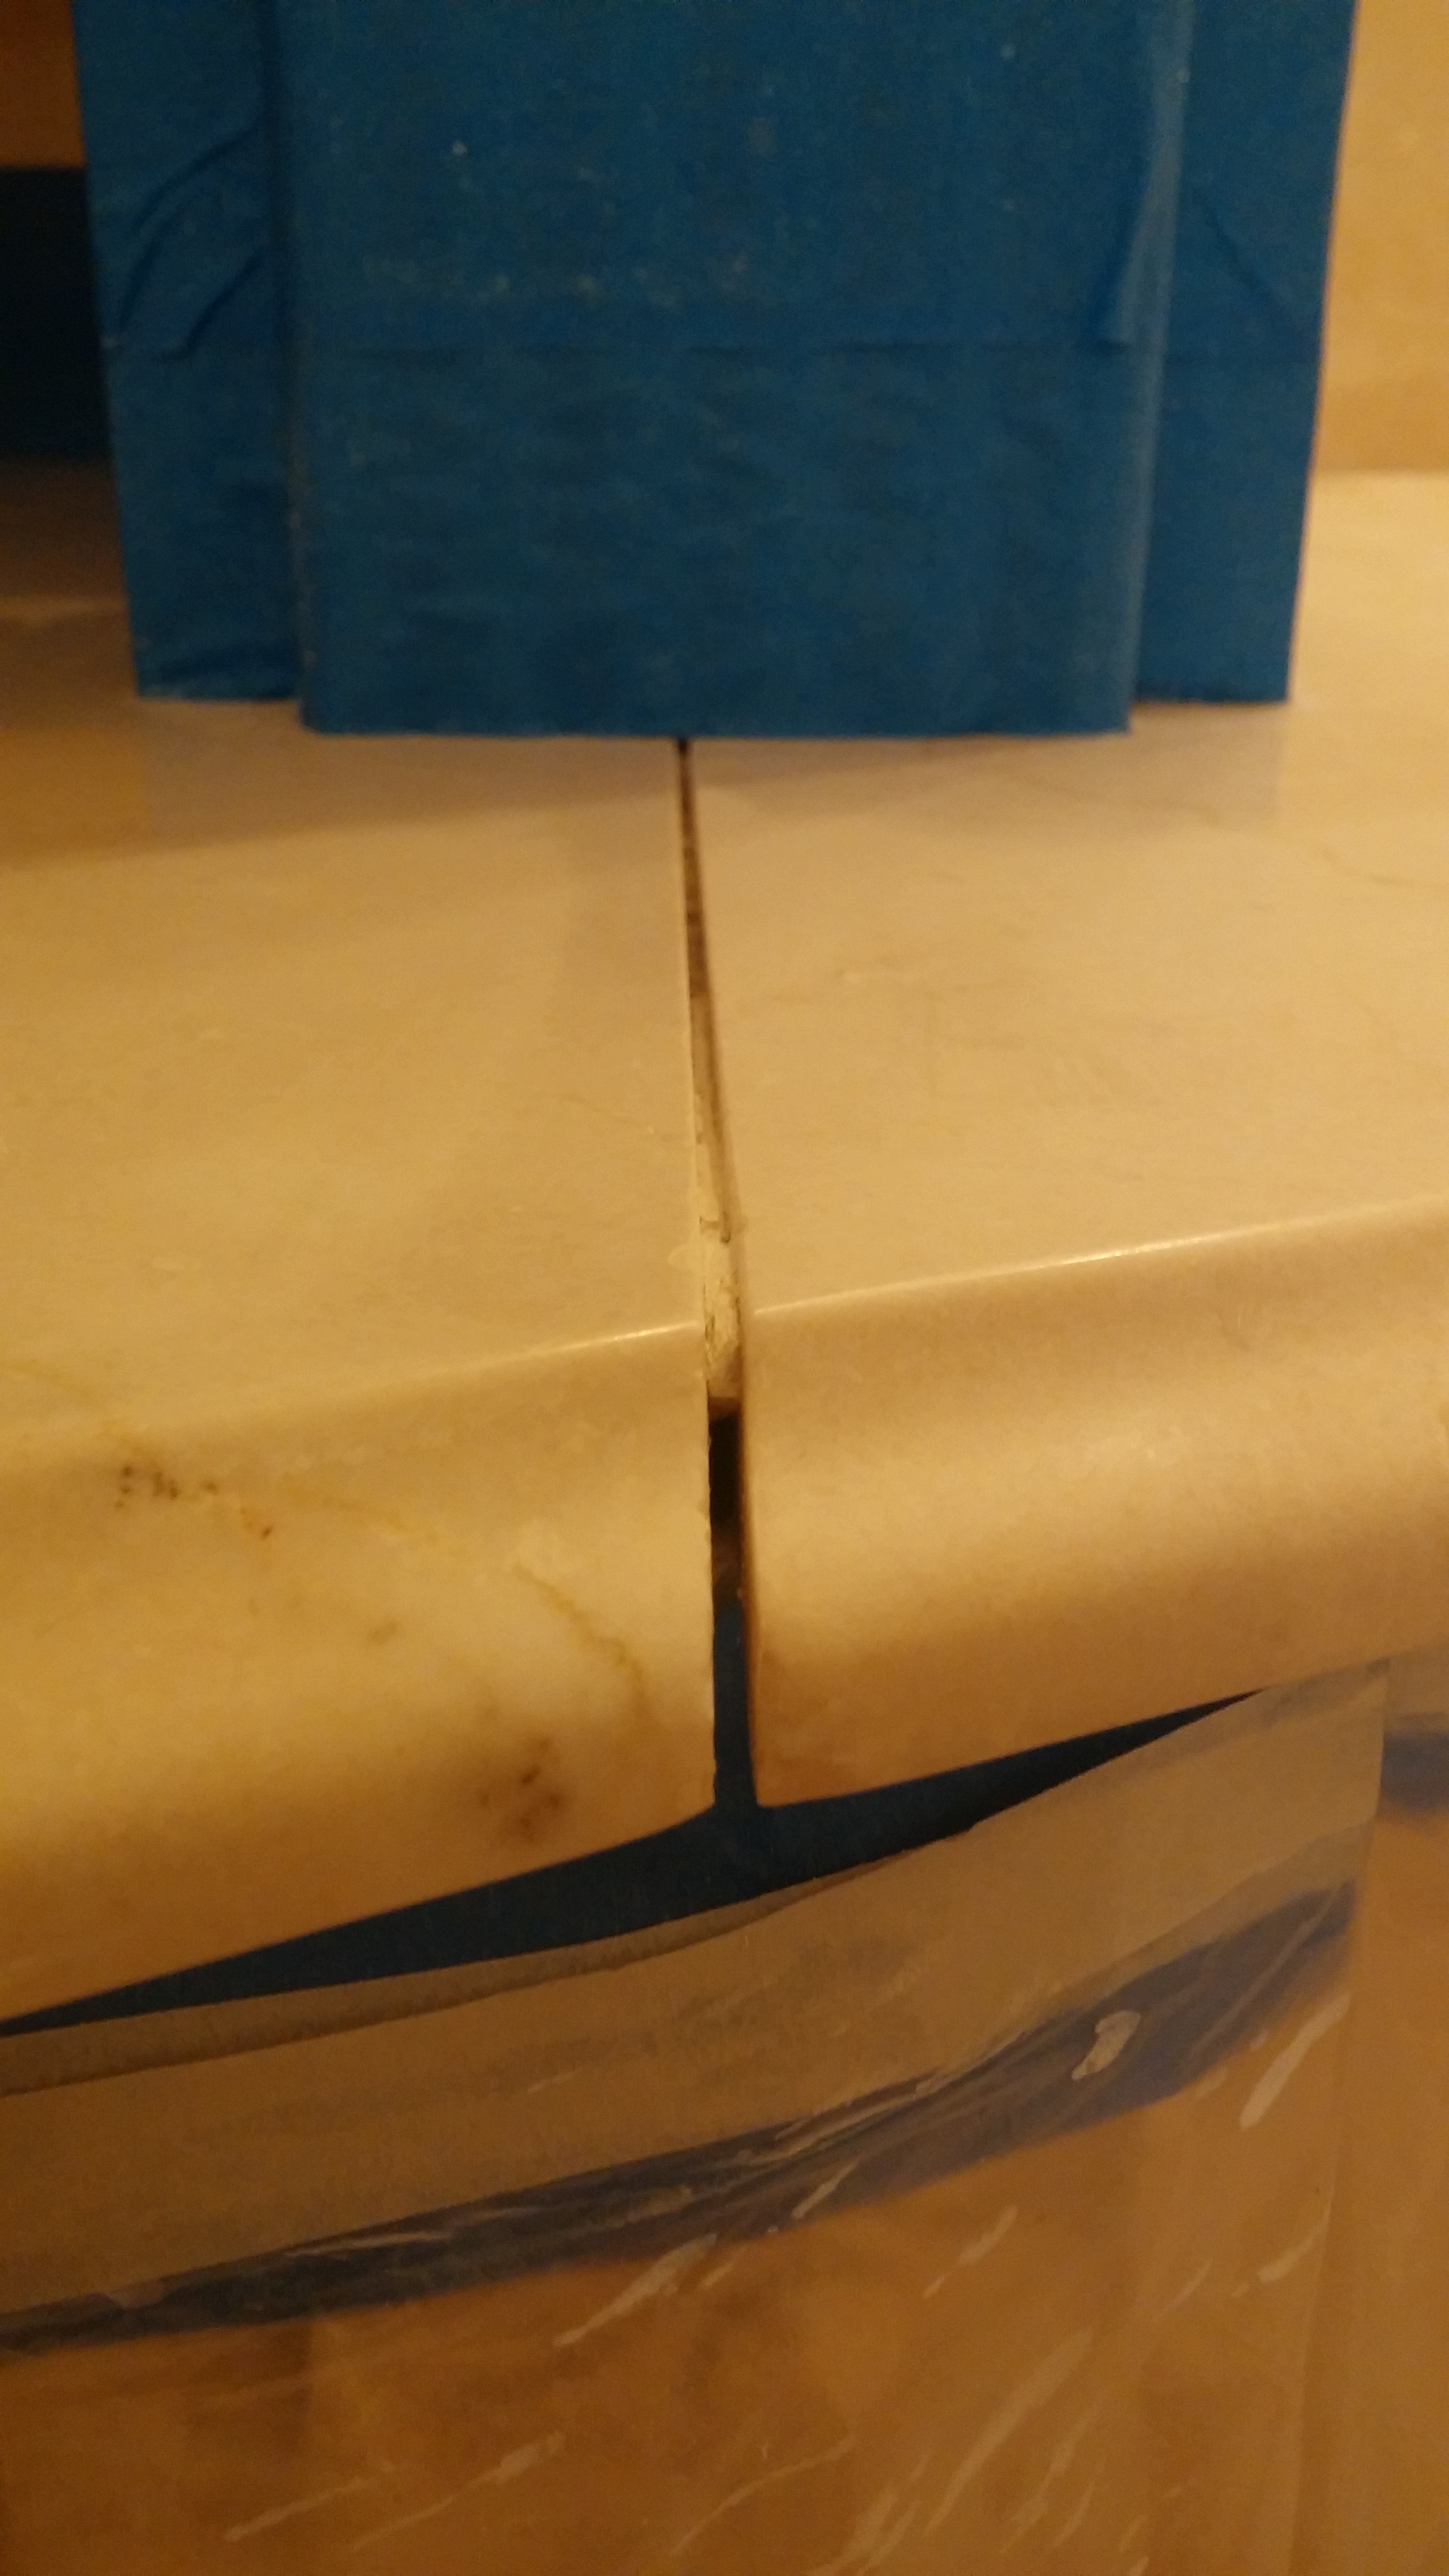
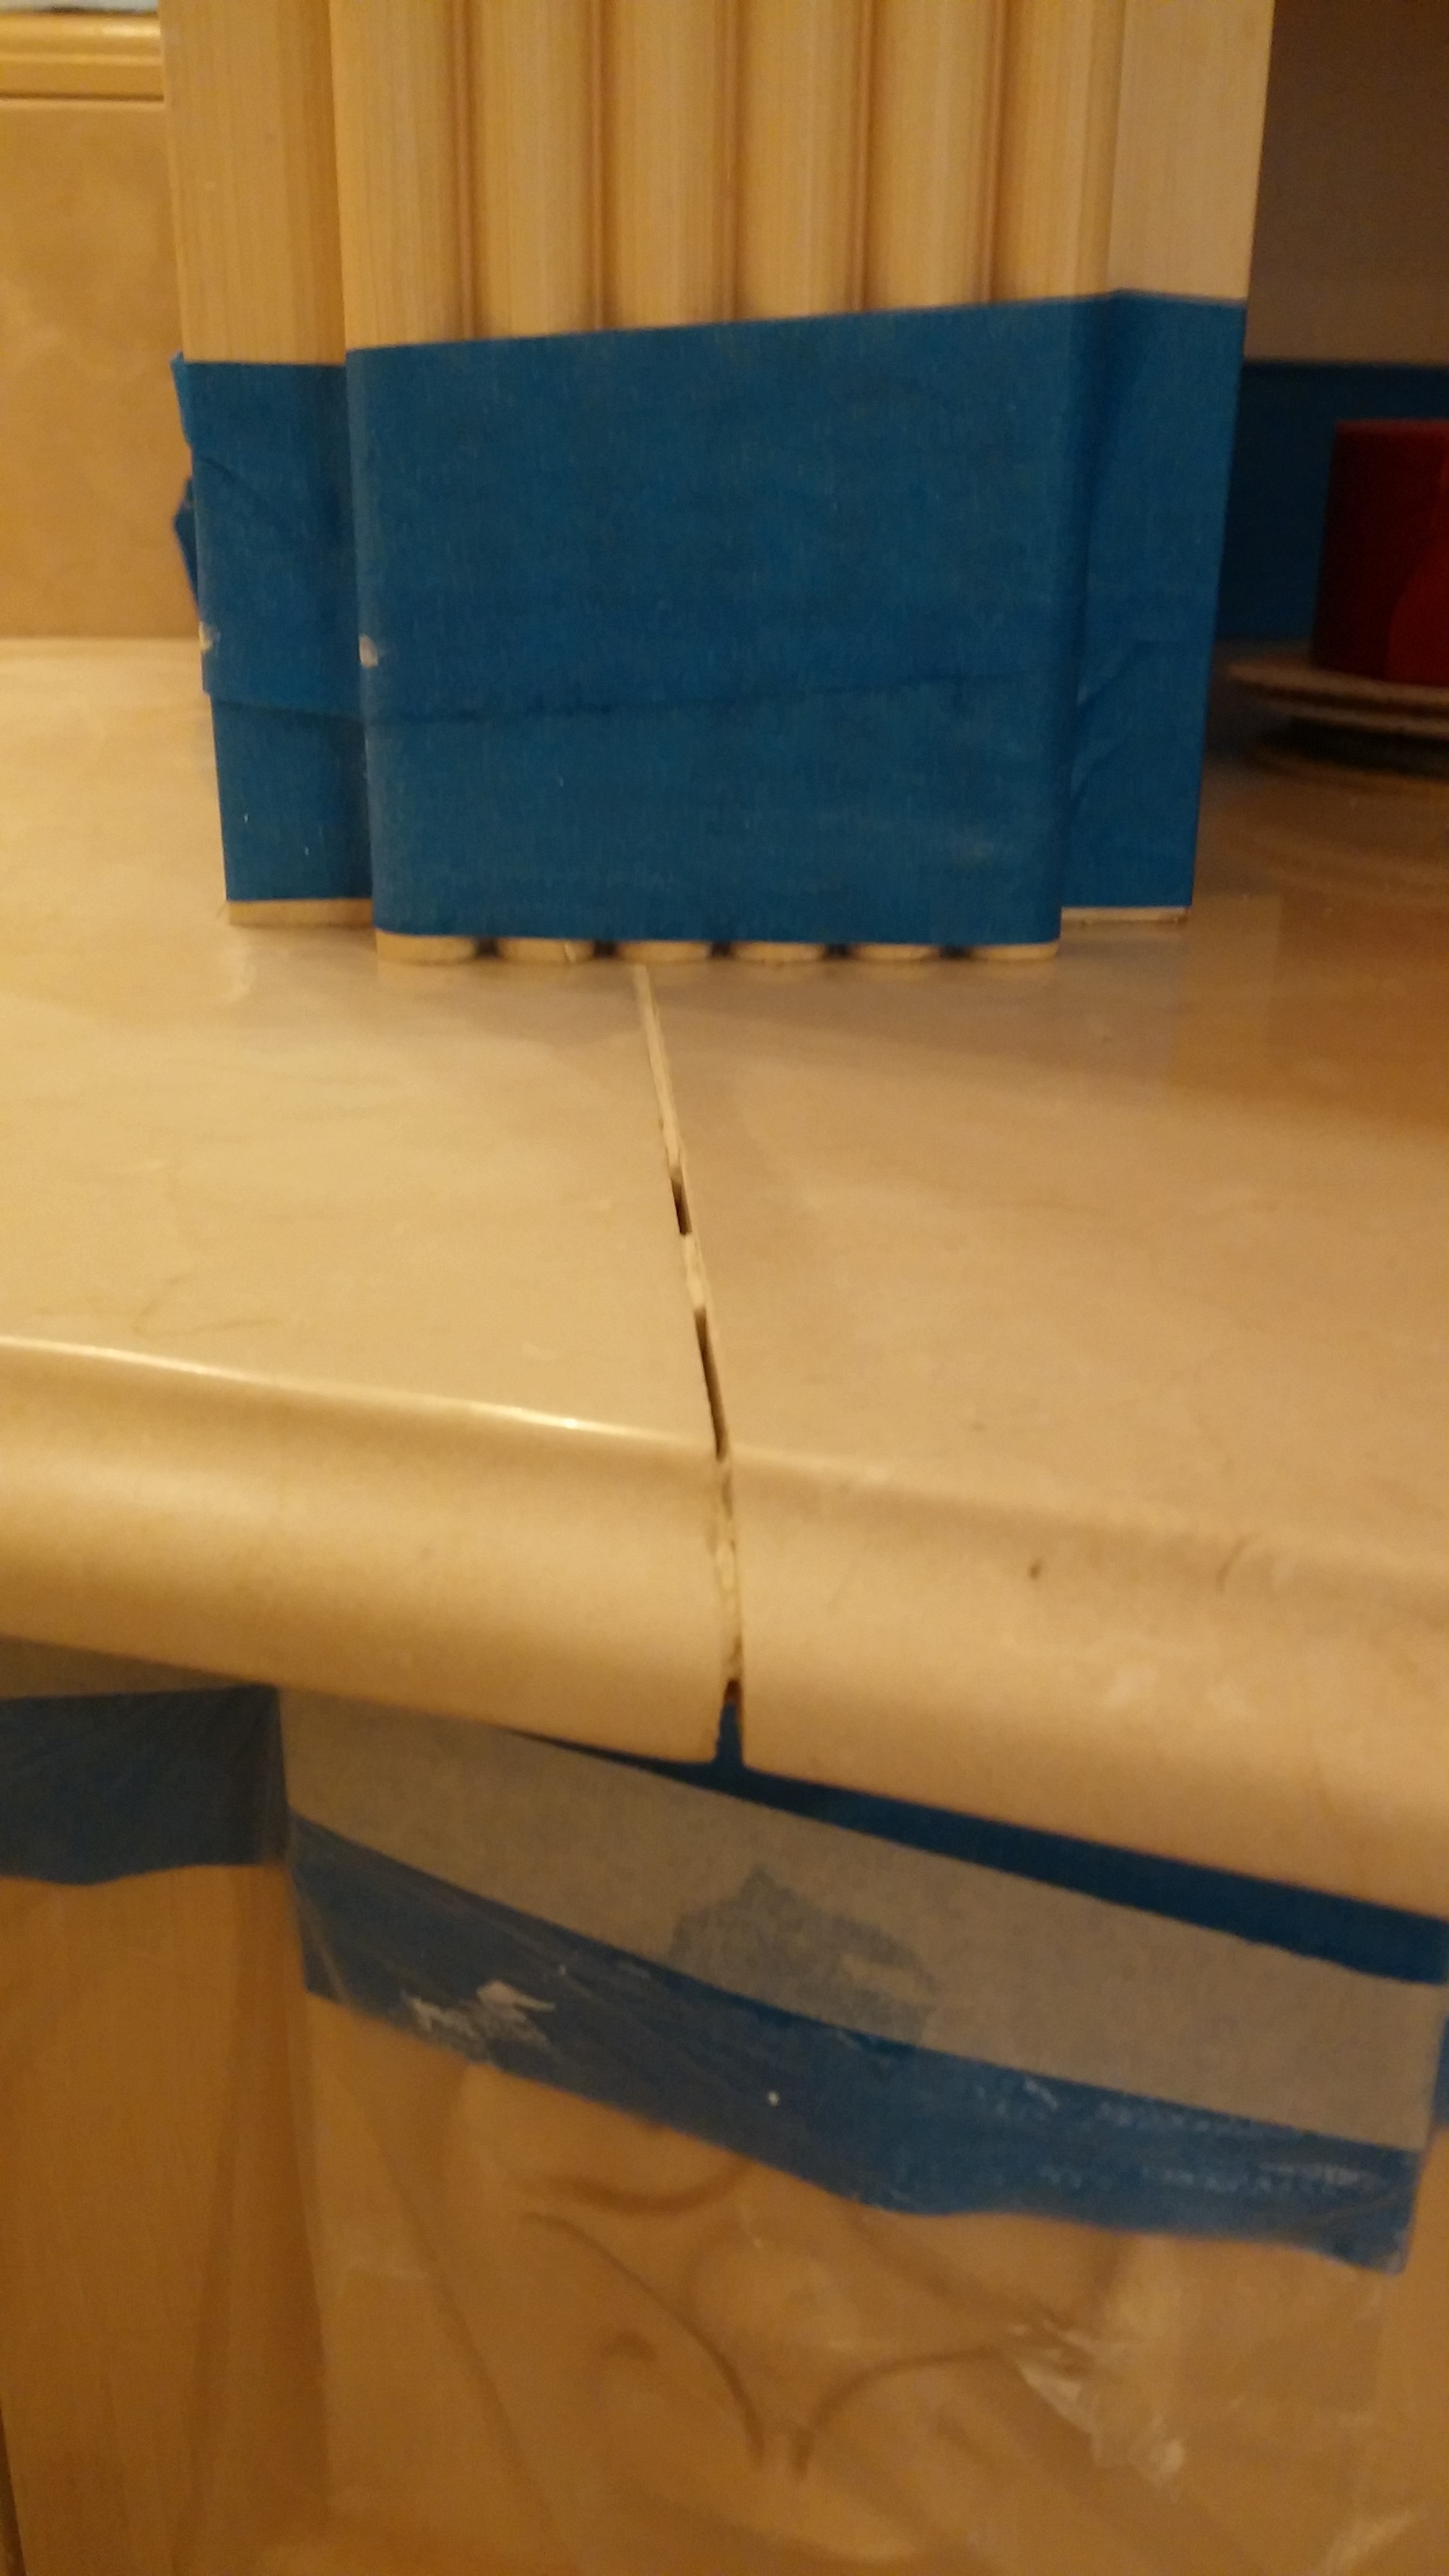
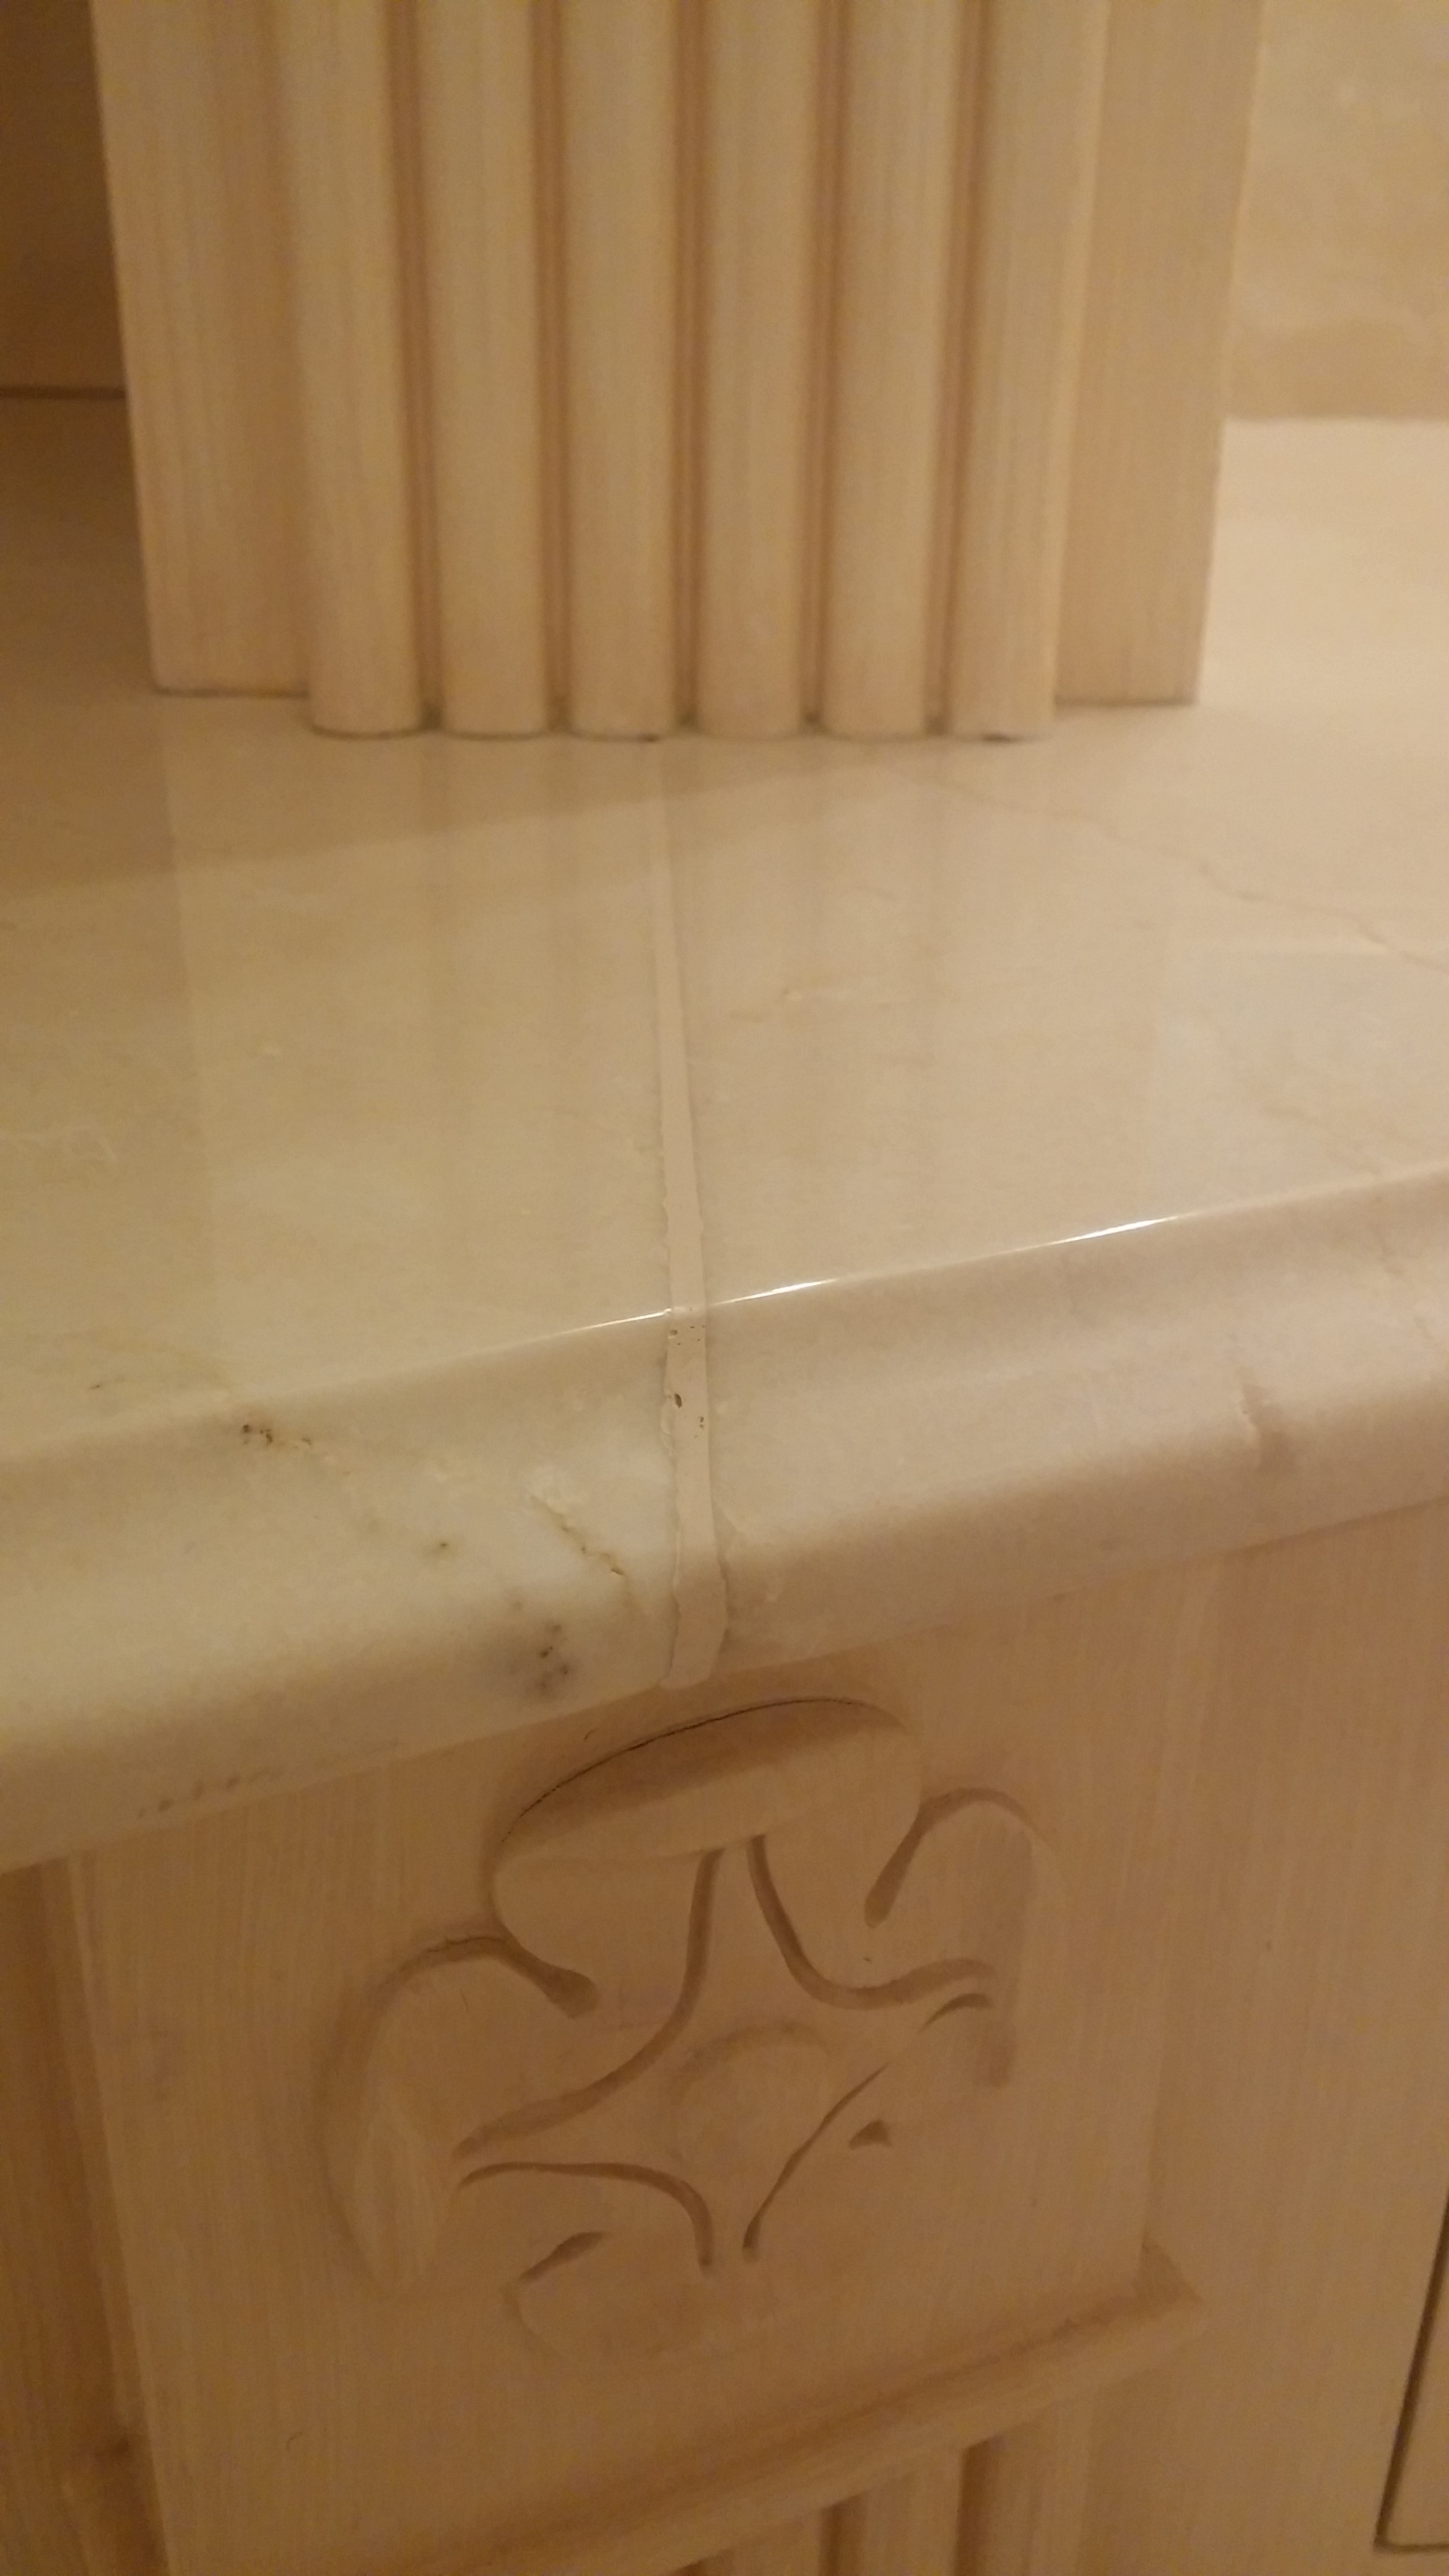
1) The surrounding area was masked off, and then the broken and loose material was removed from the seam in preparation of the repair.
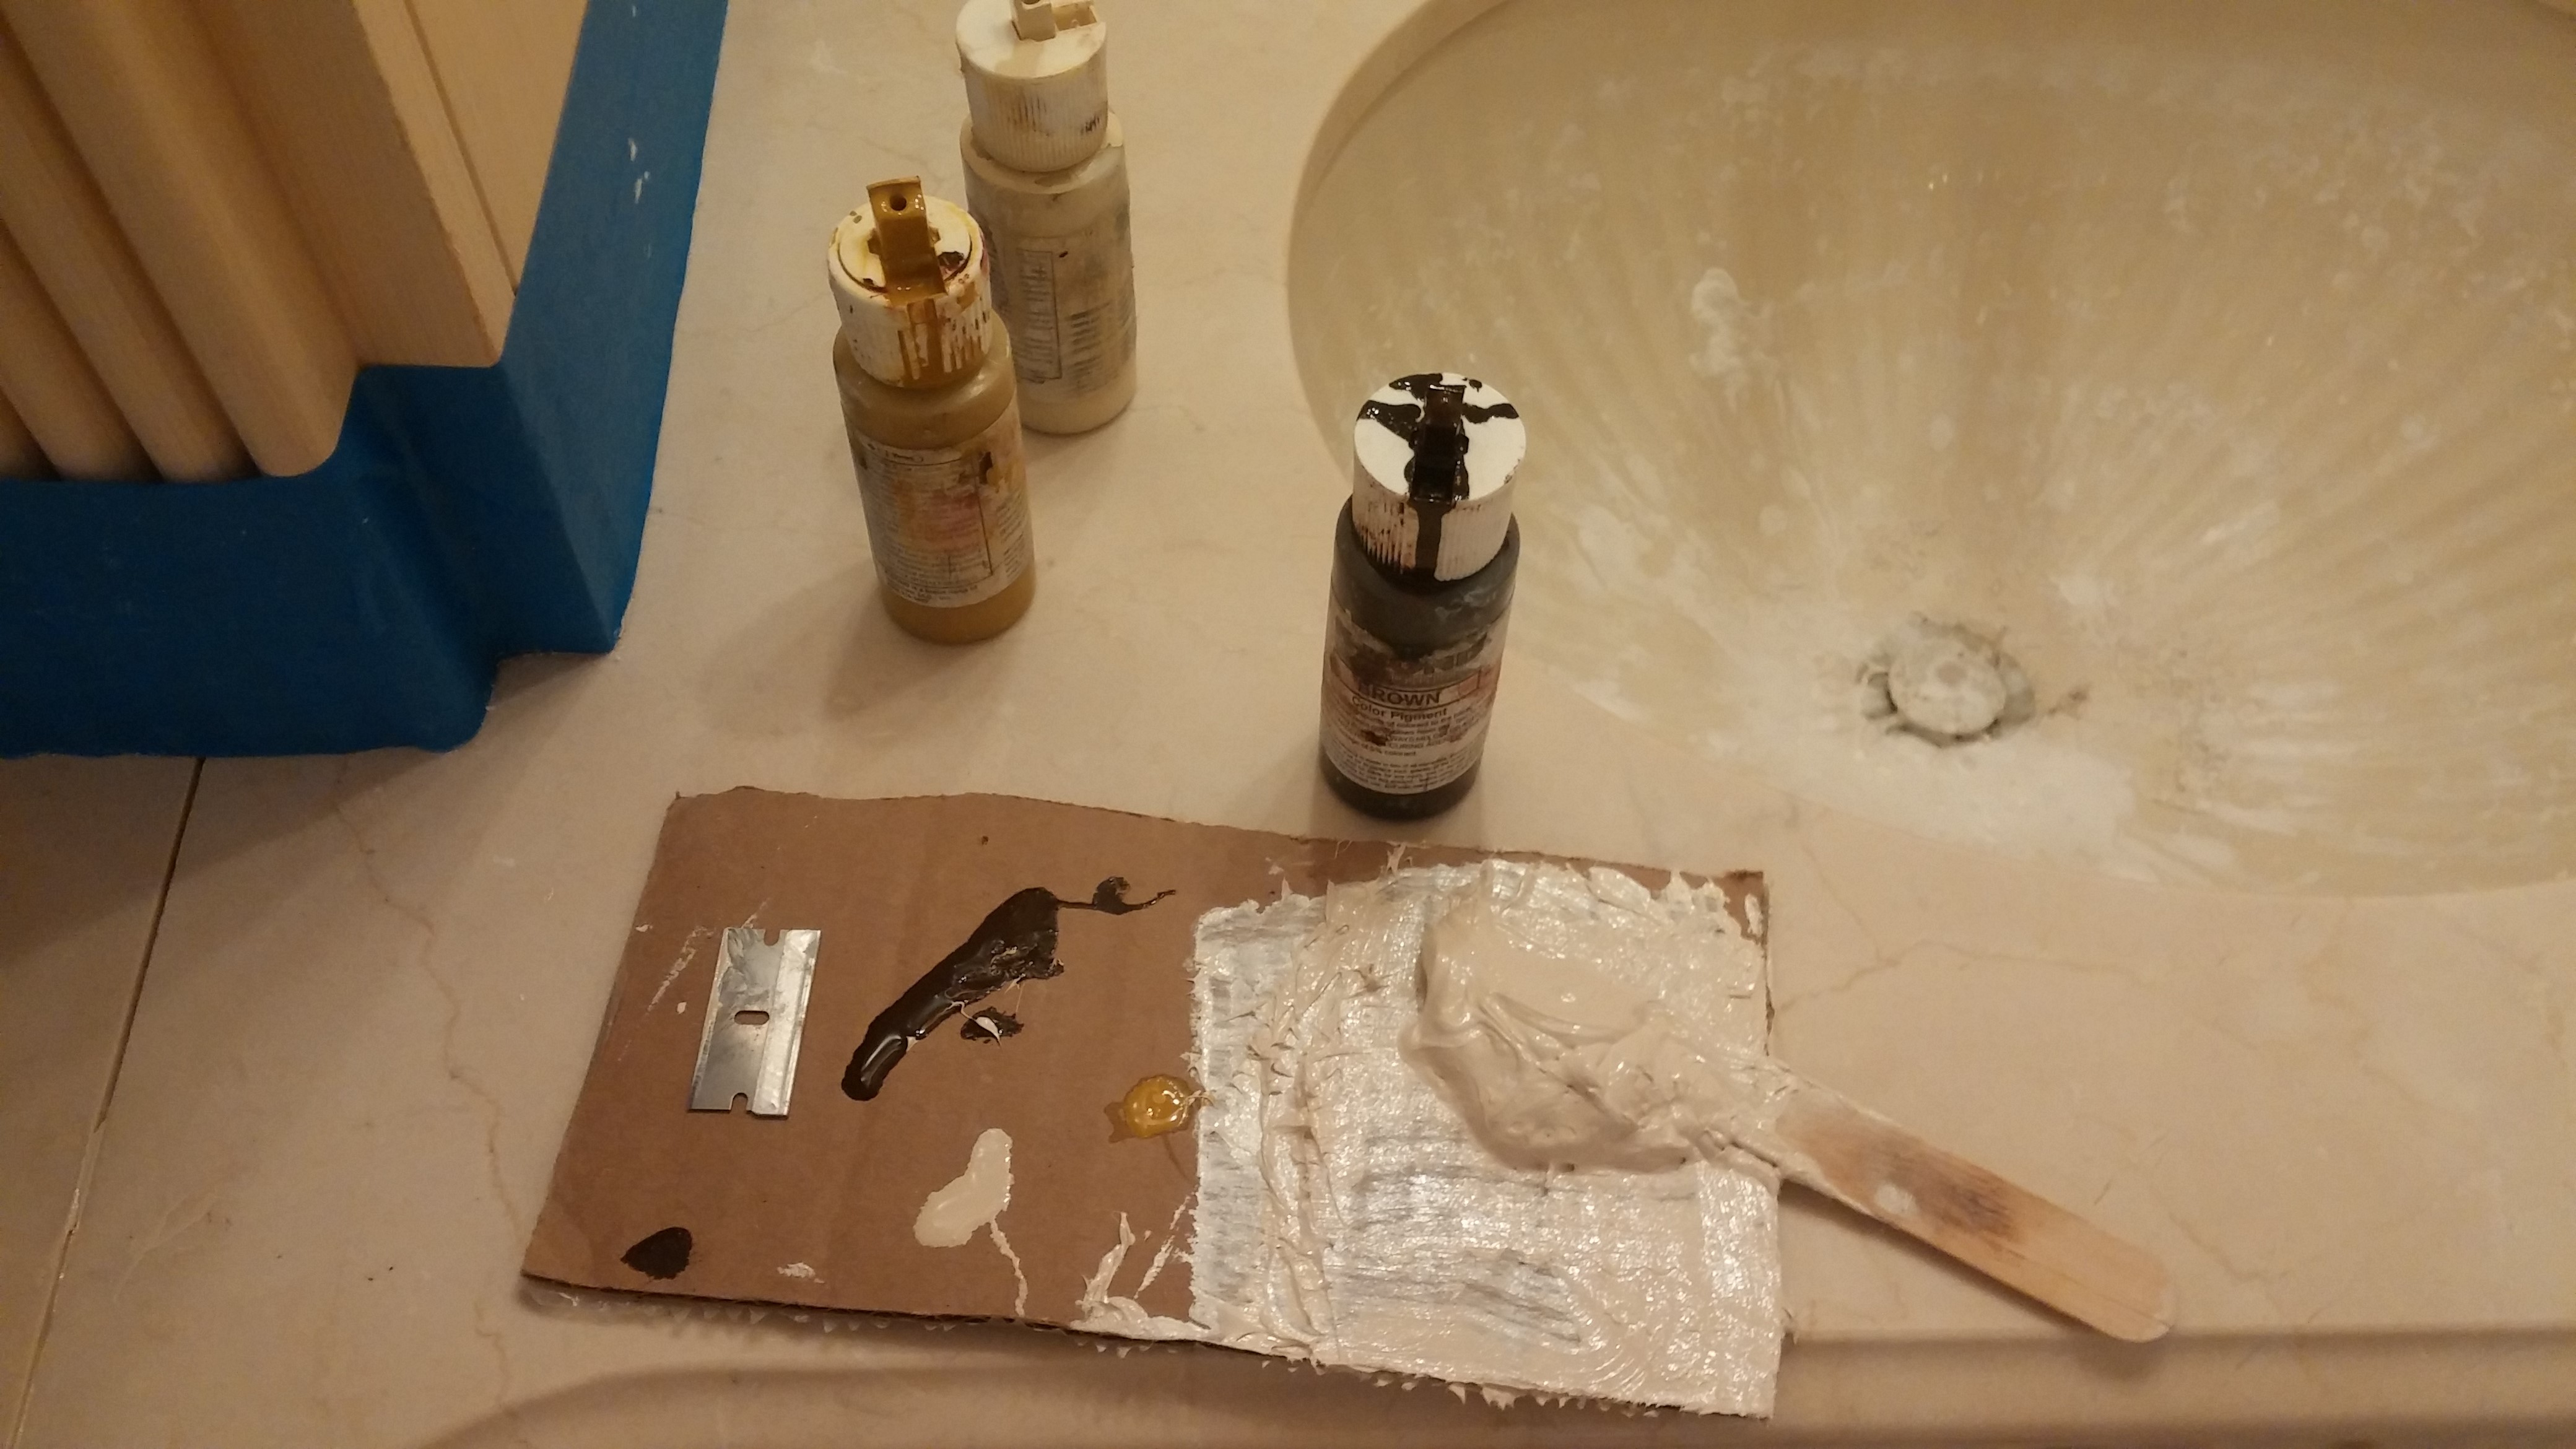
2) Color matched epoxy is mixed on site. Sometimes multiple colors are needed to get as close a match as possible.

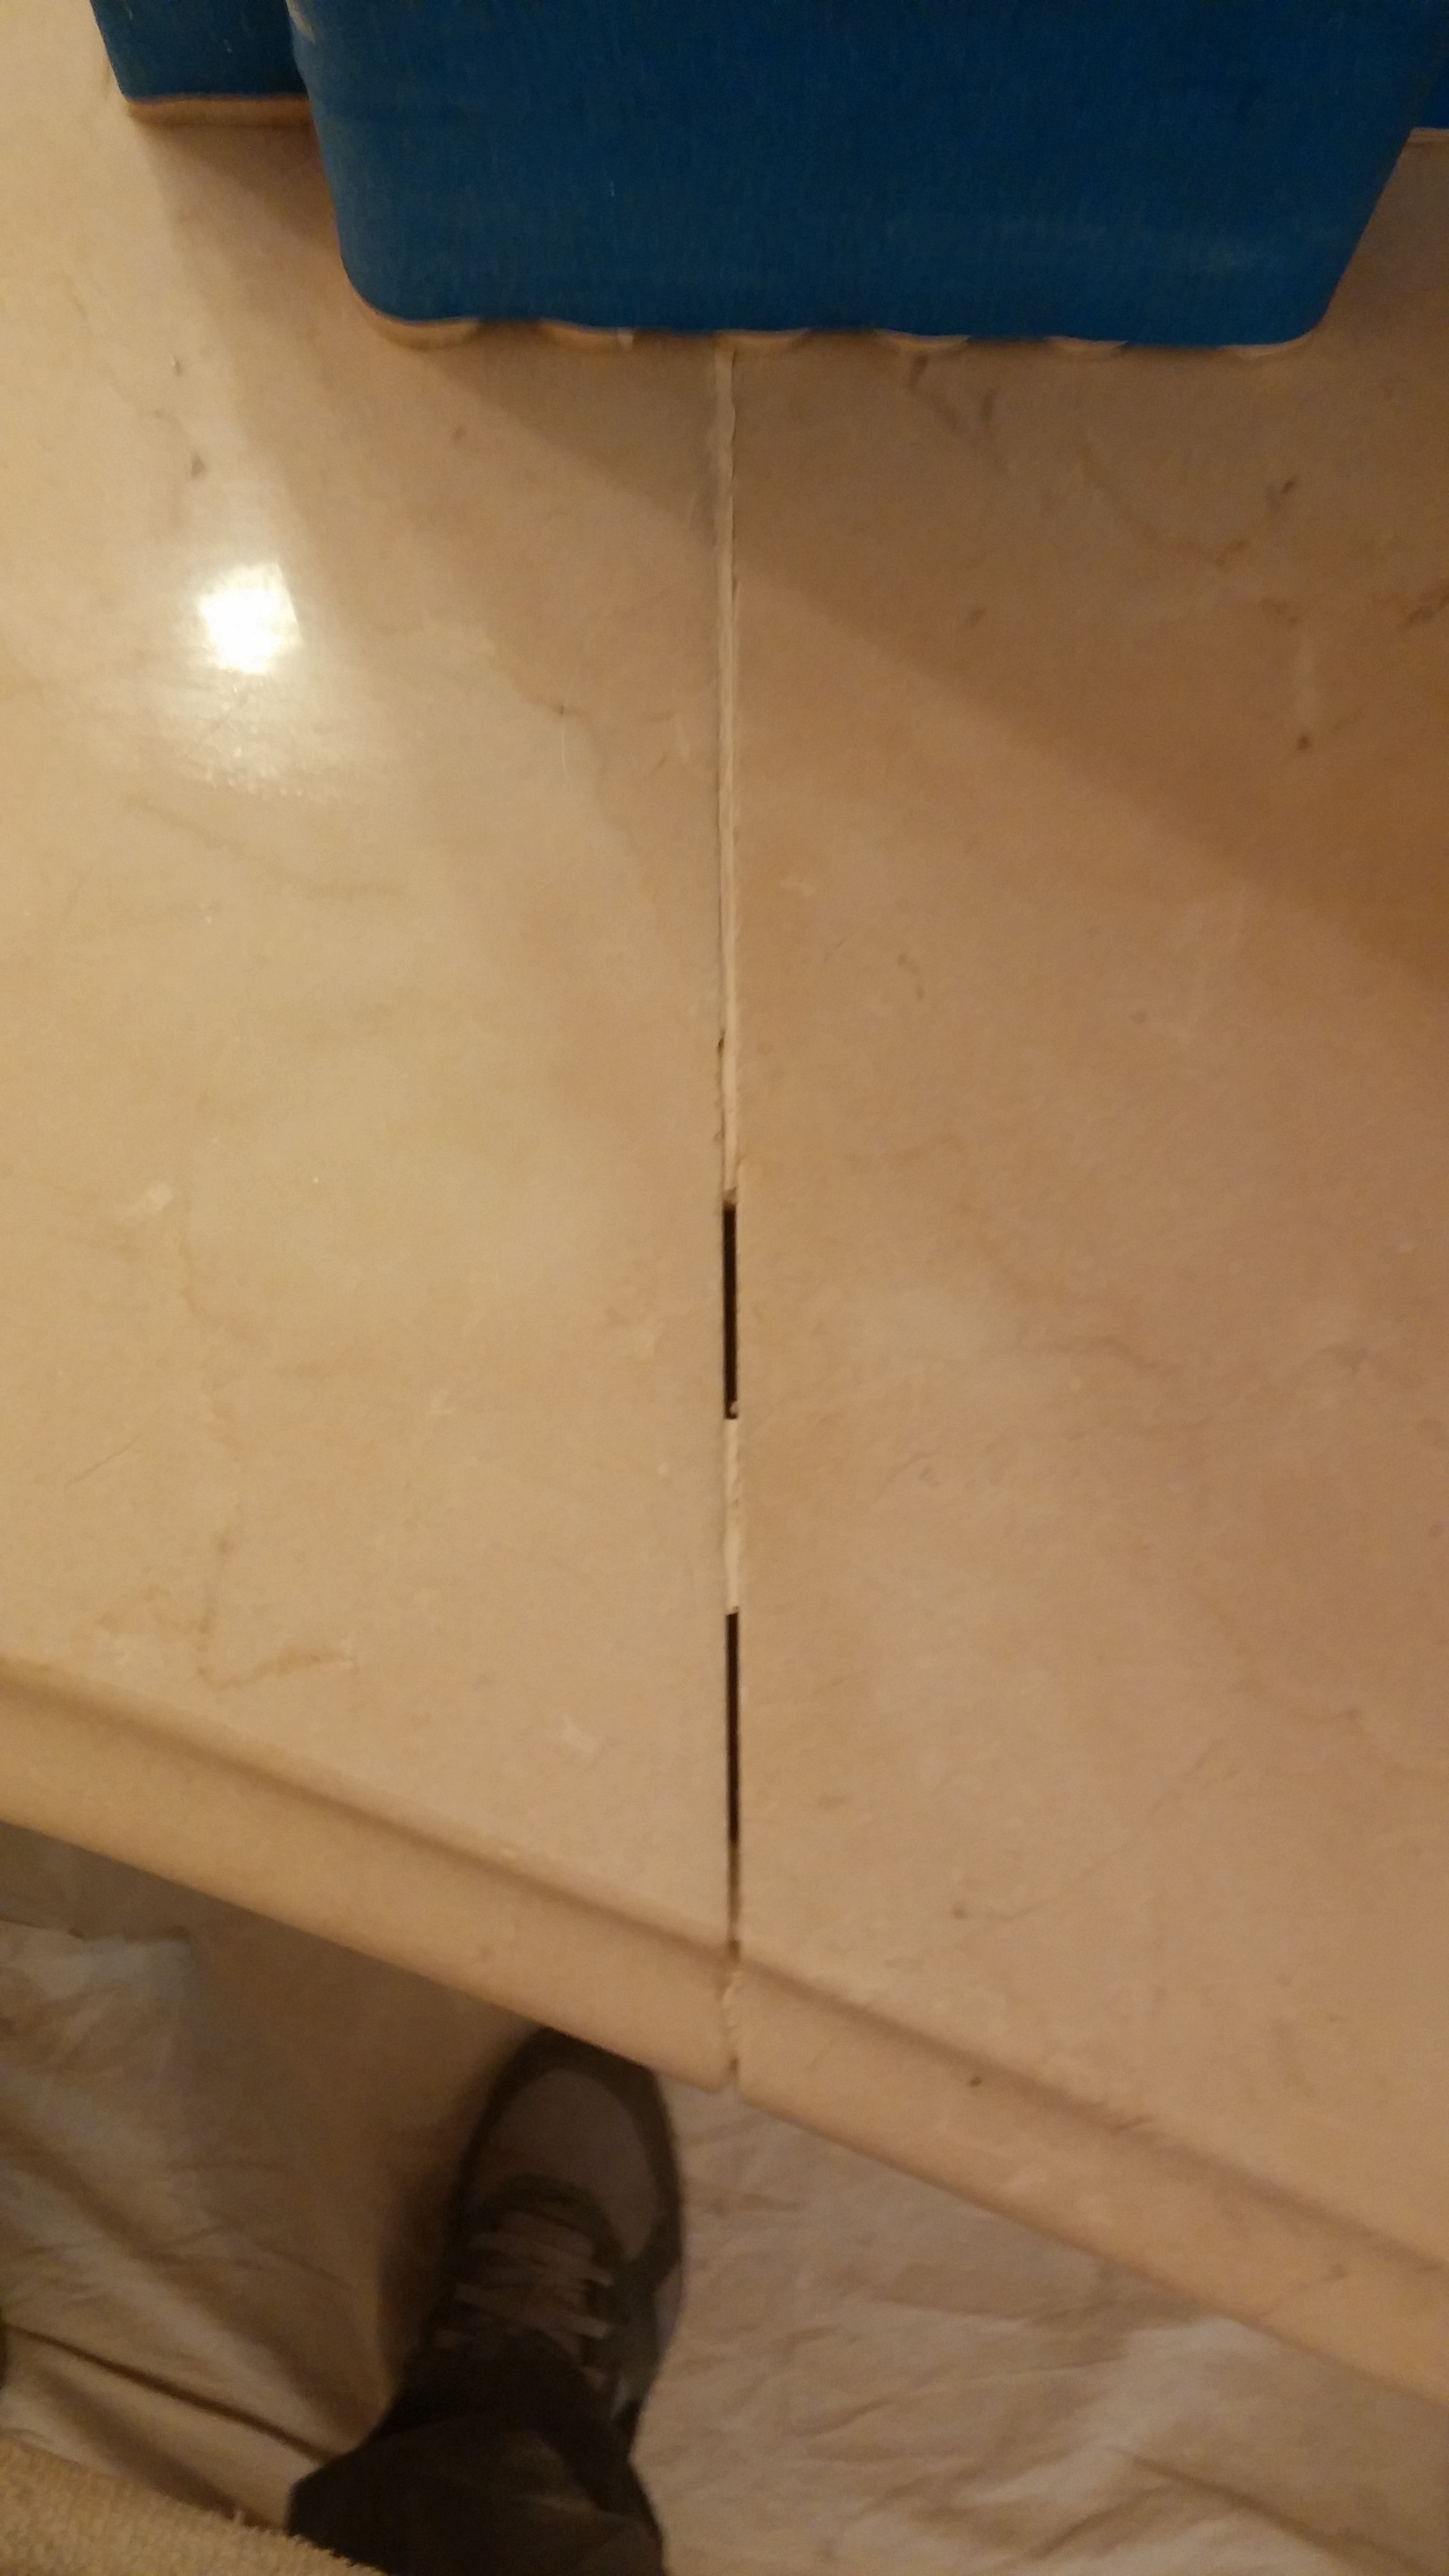
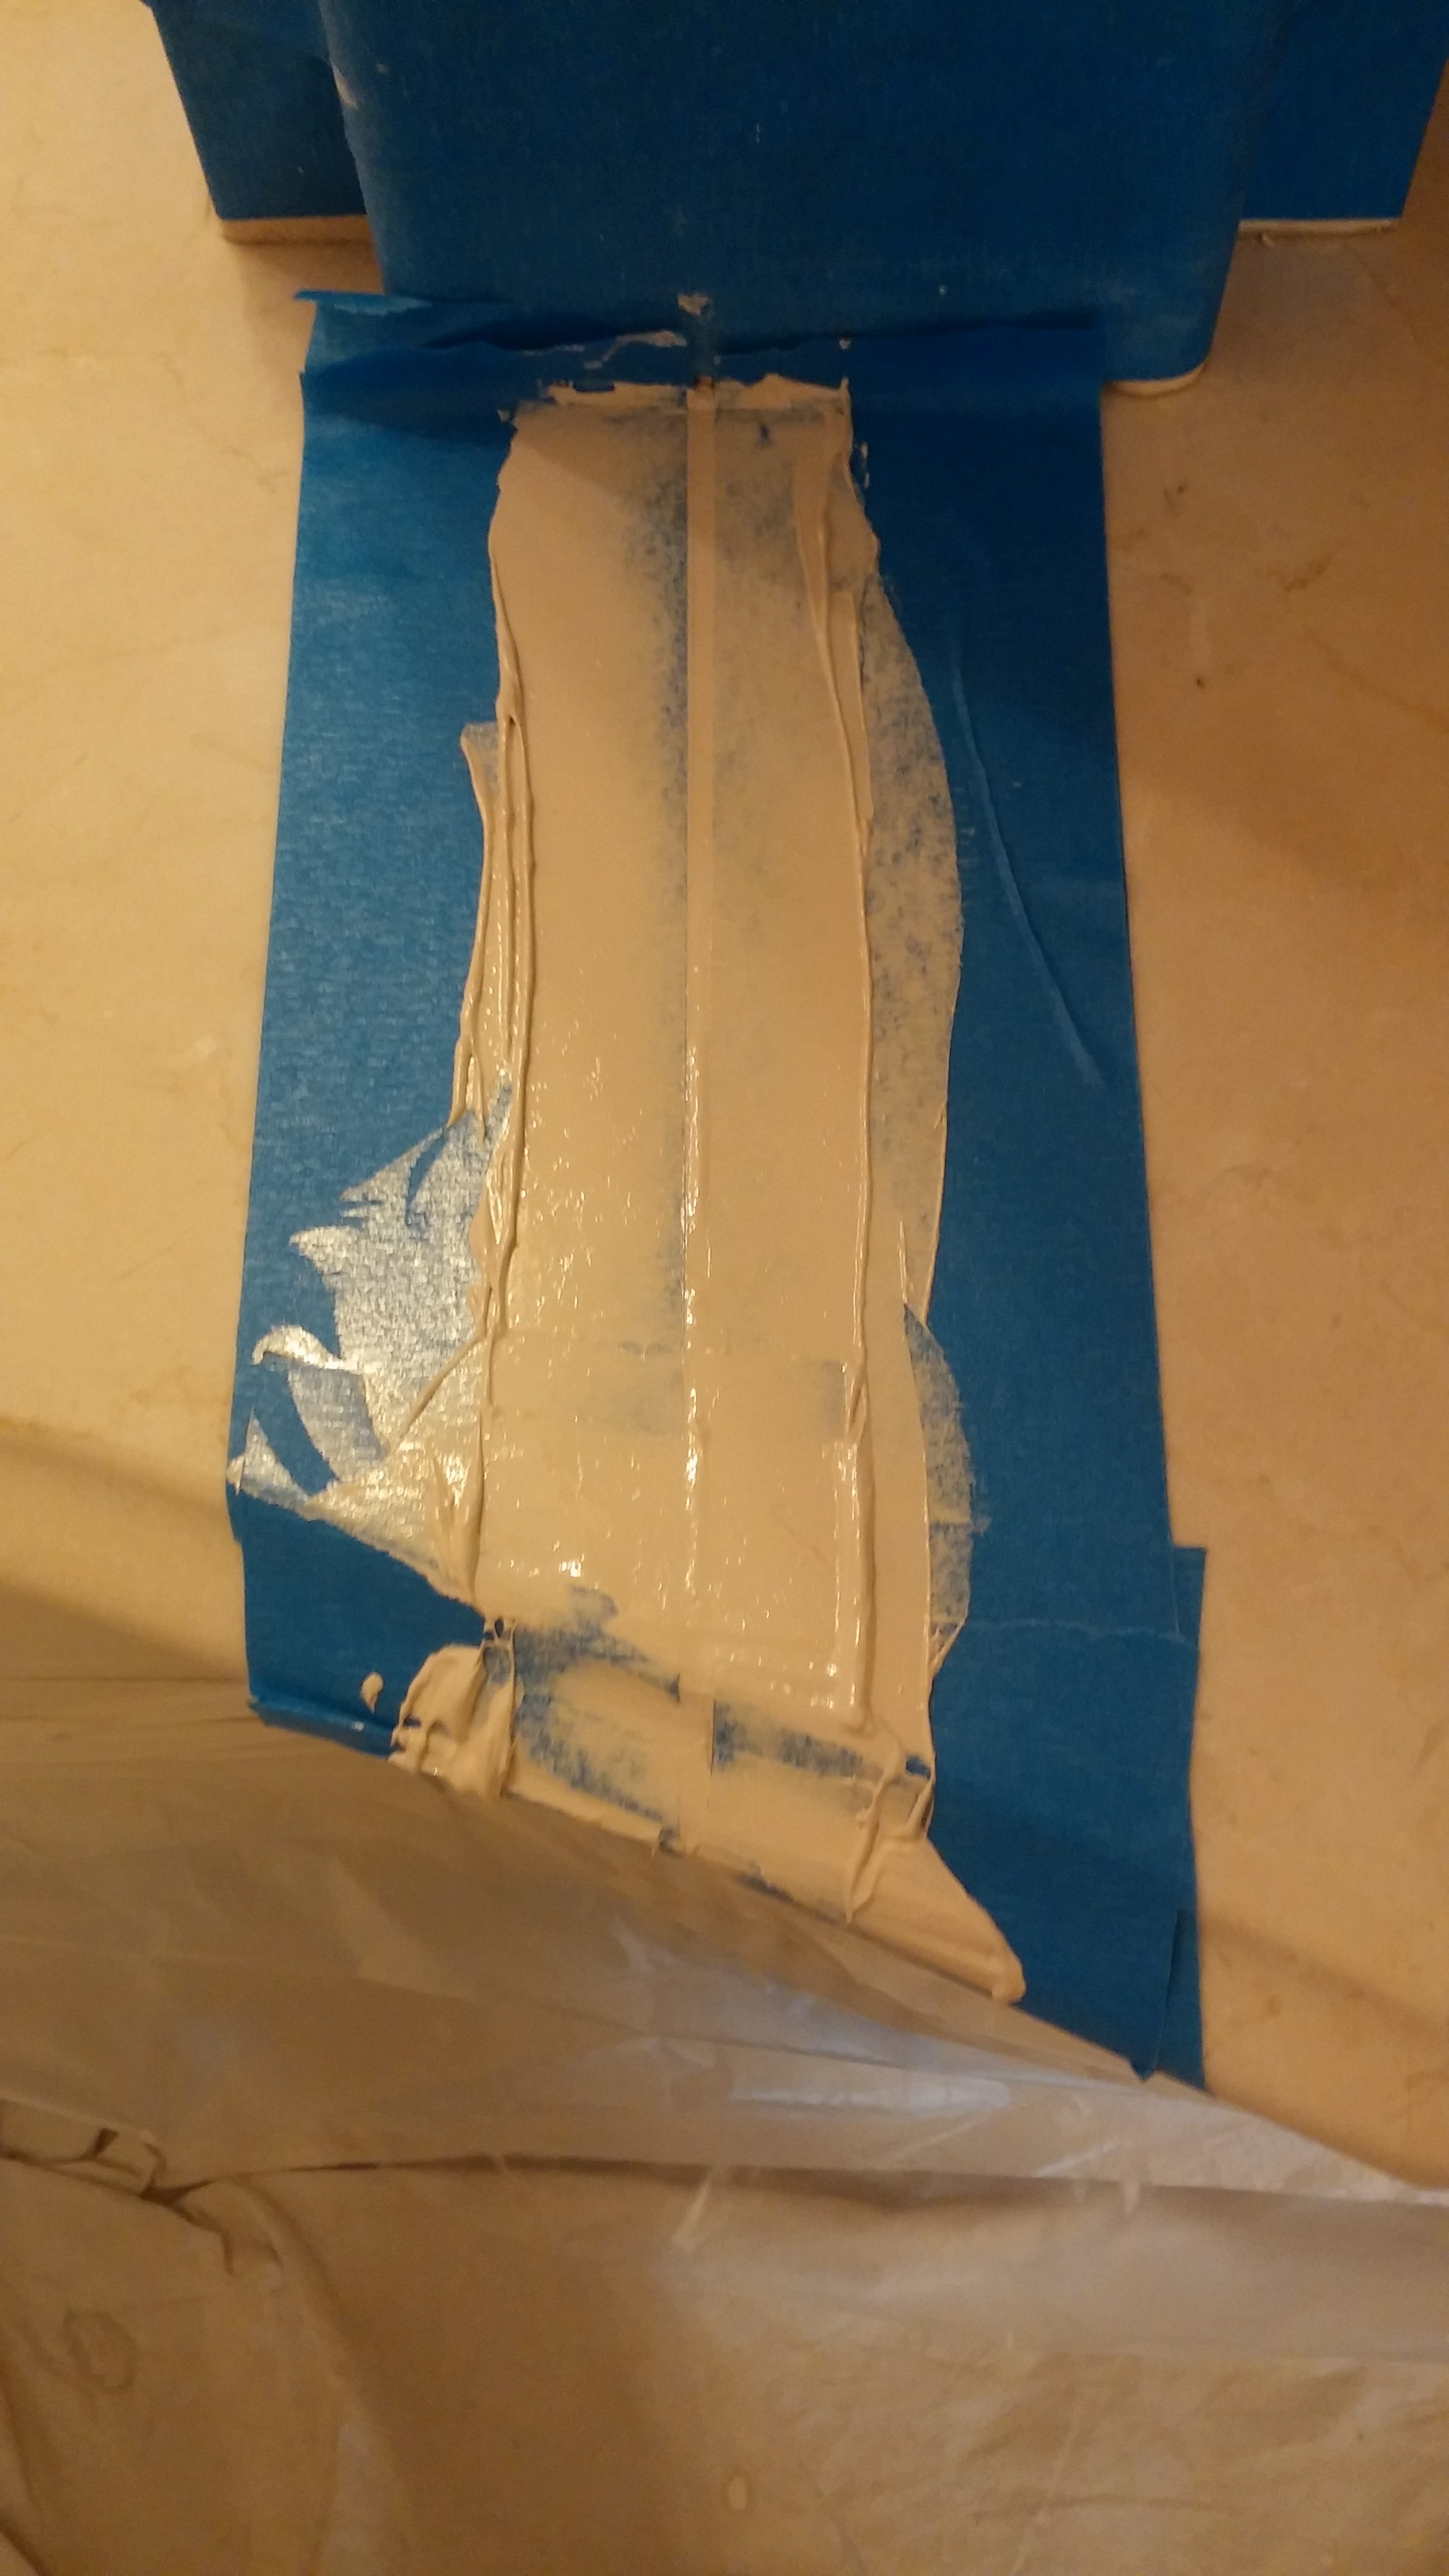
3) The seams are taped off to keep excess material off the vanity. Tape also creates height so that the epoxy is left higher than the surface of the stone. The seam is then filled and the tape is pulled from the vanity.
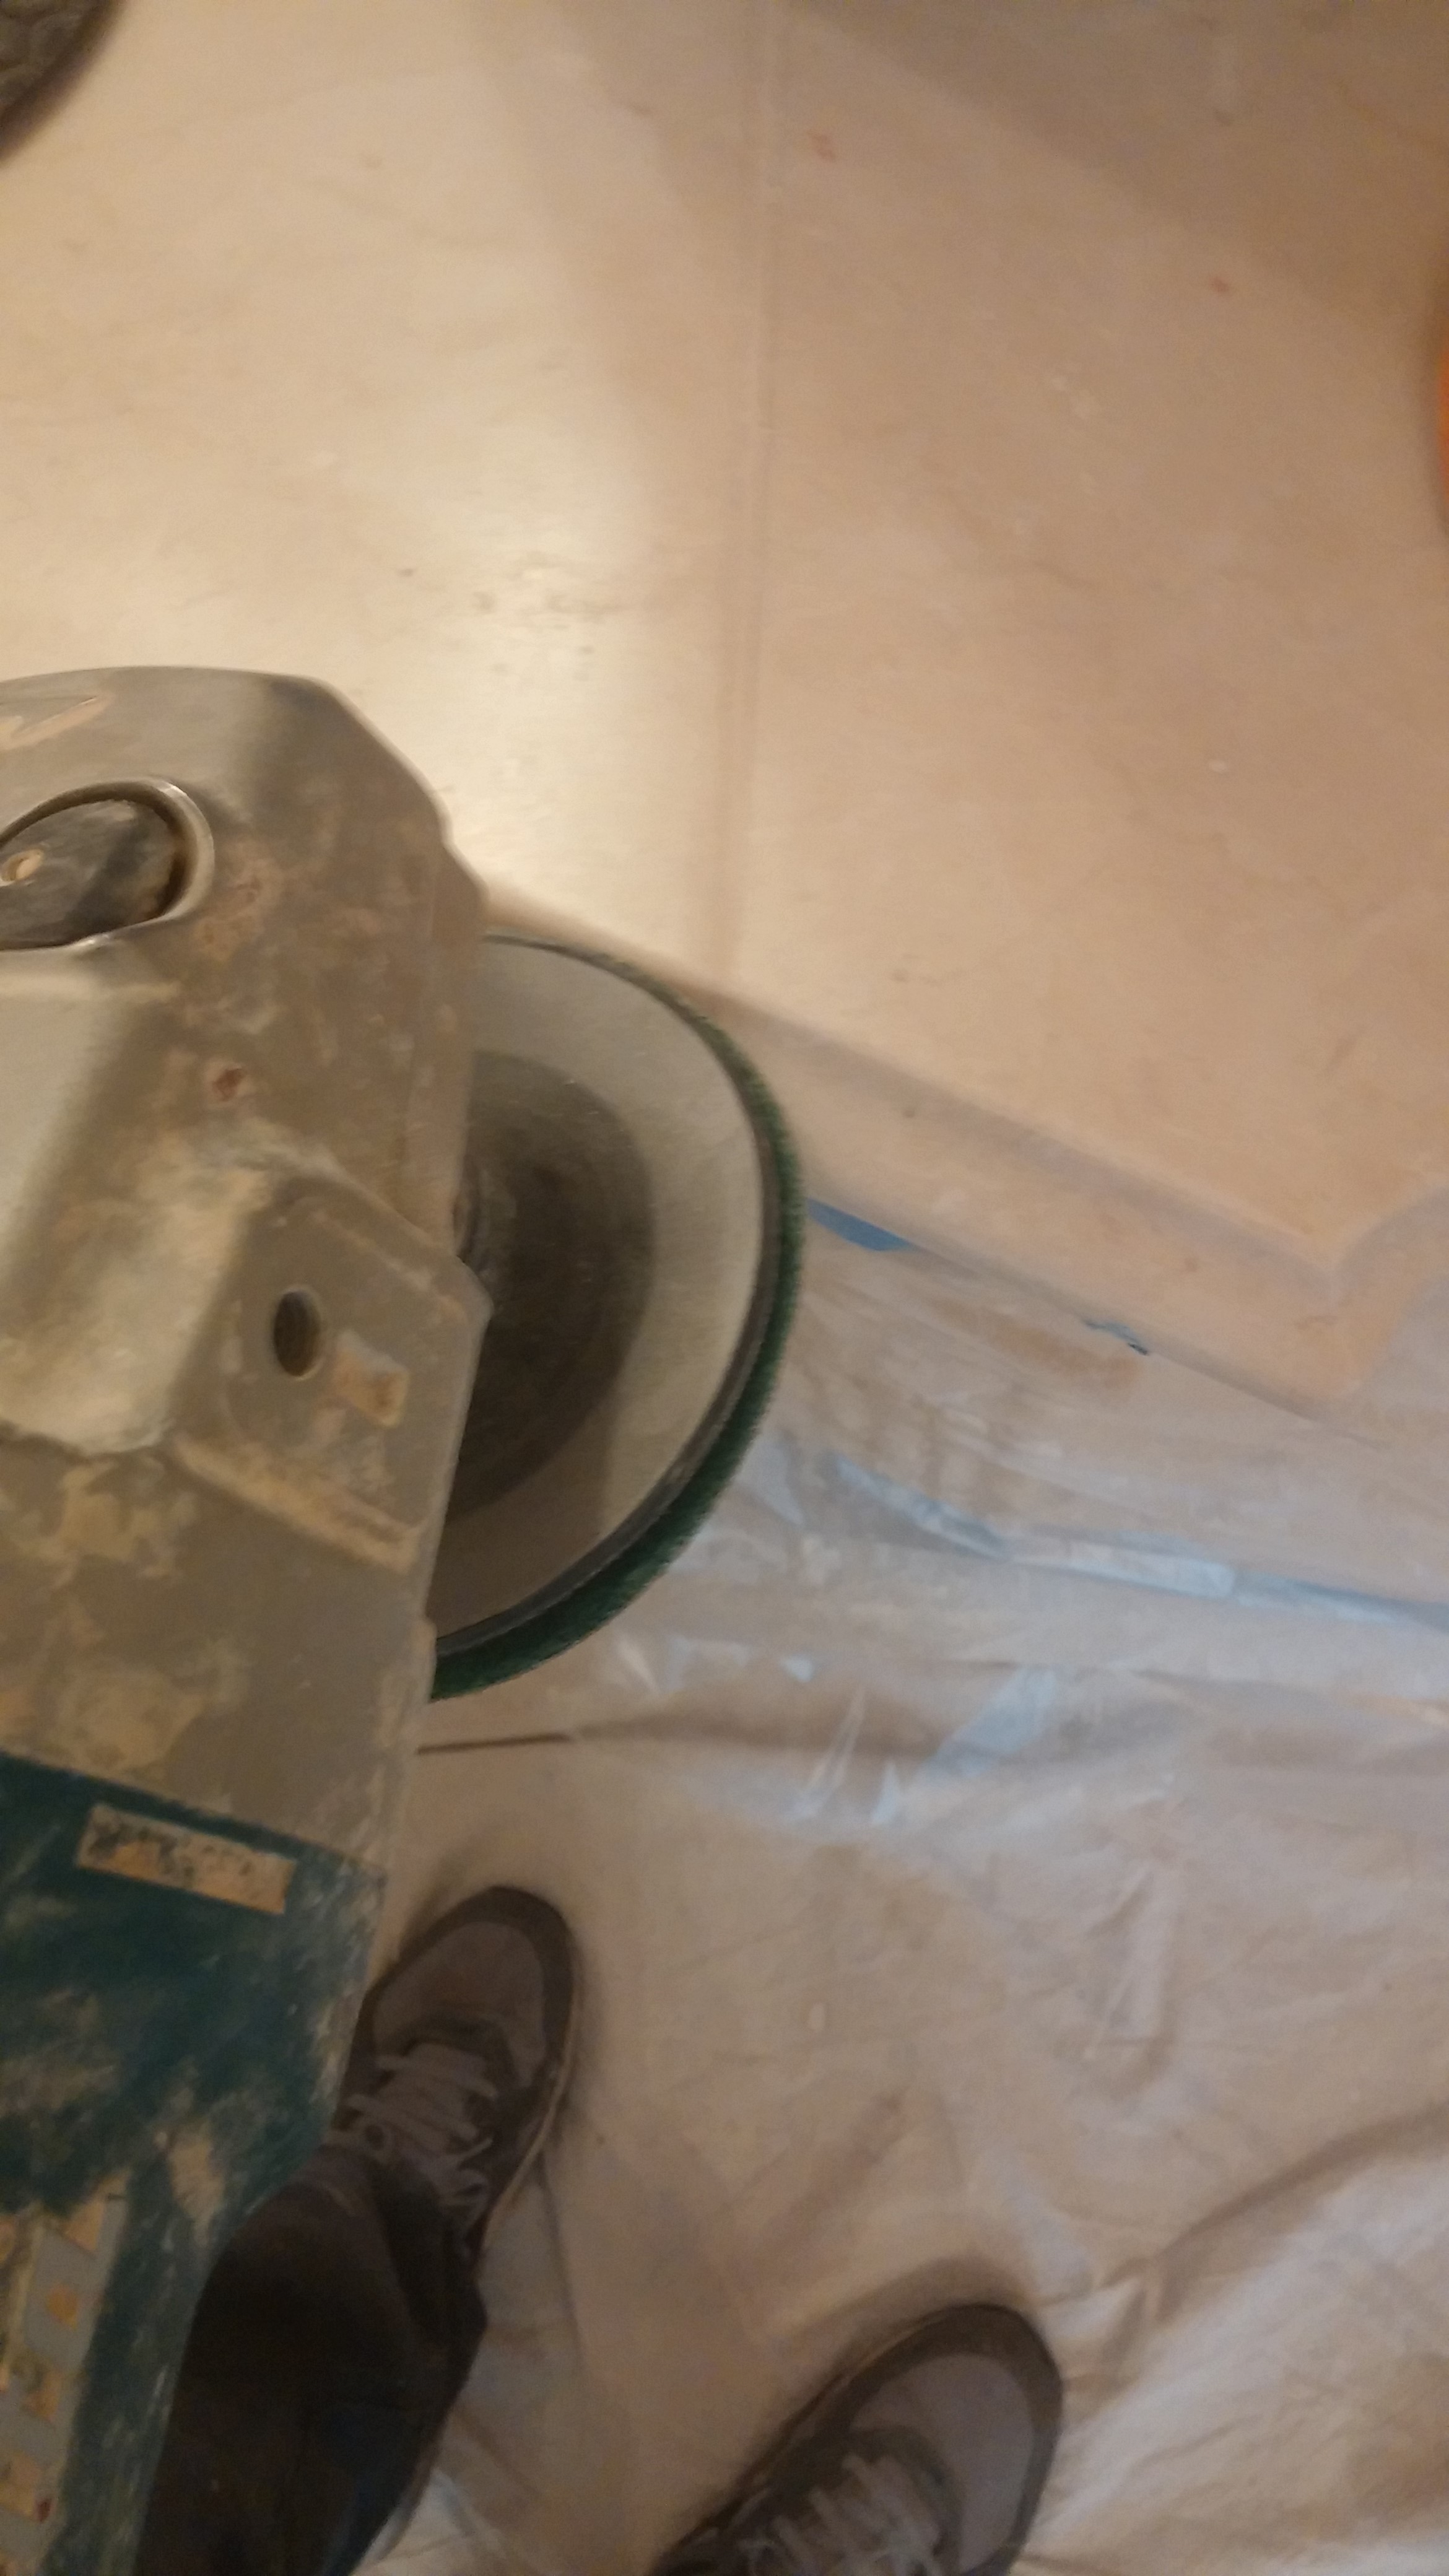
4) The seam is flattened with a hand machine to be level with the rest of the vanity. Special diamonds are used to flatten the edge profile.

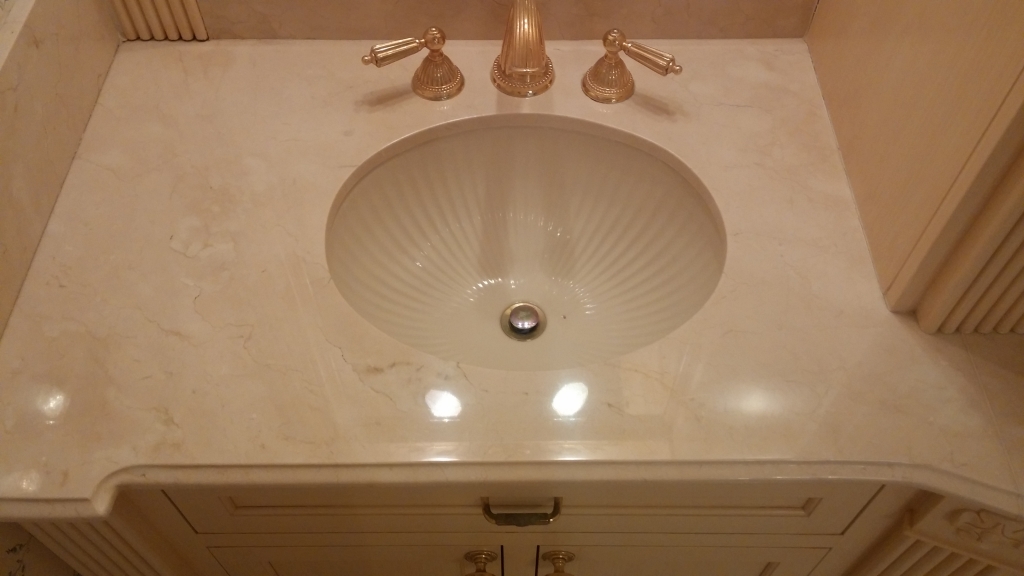
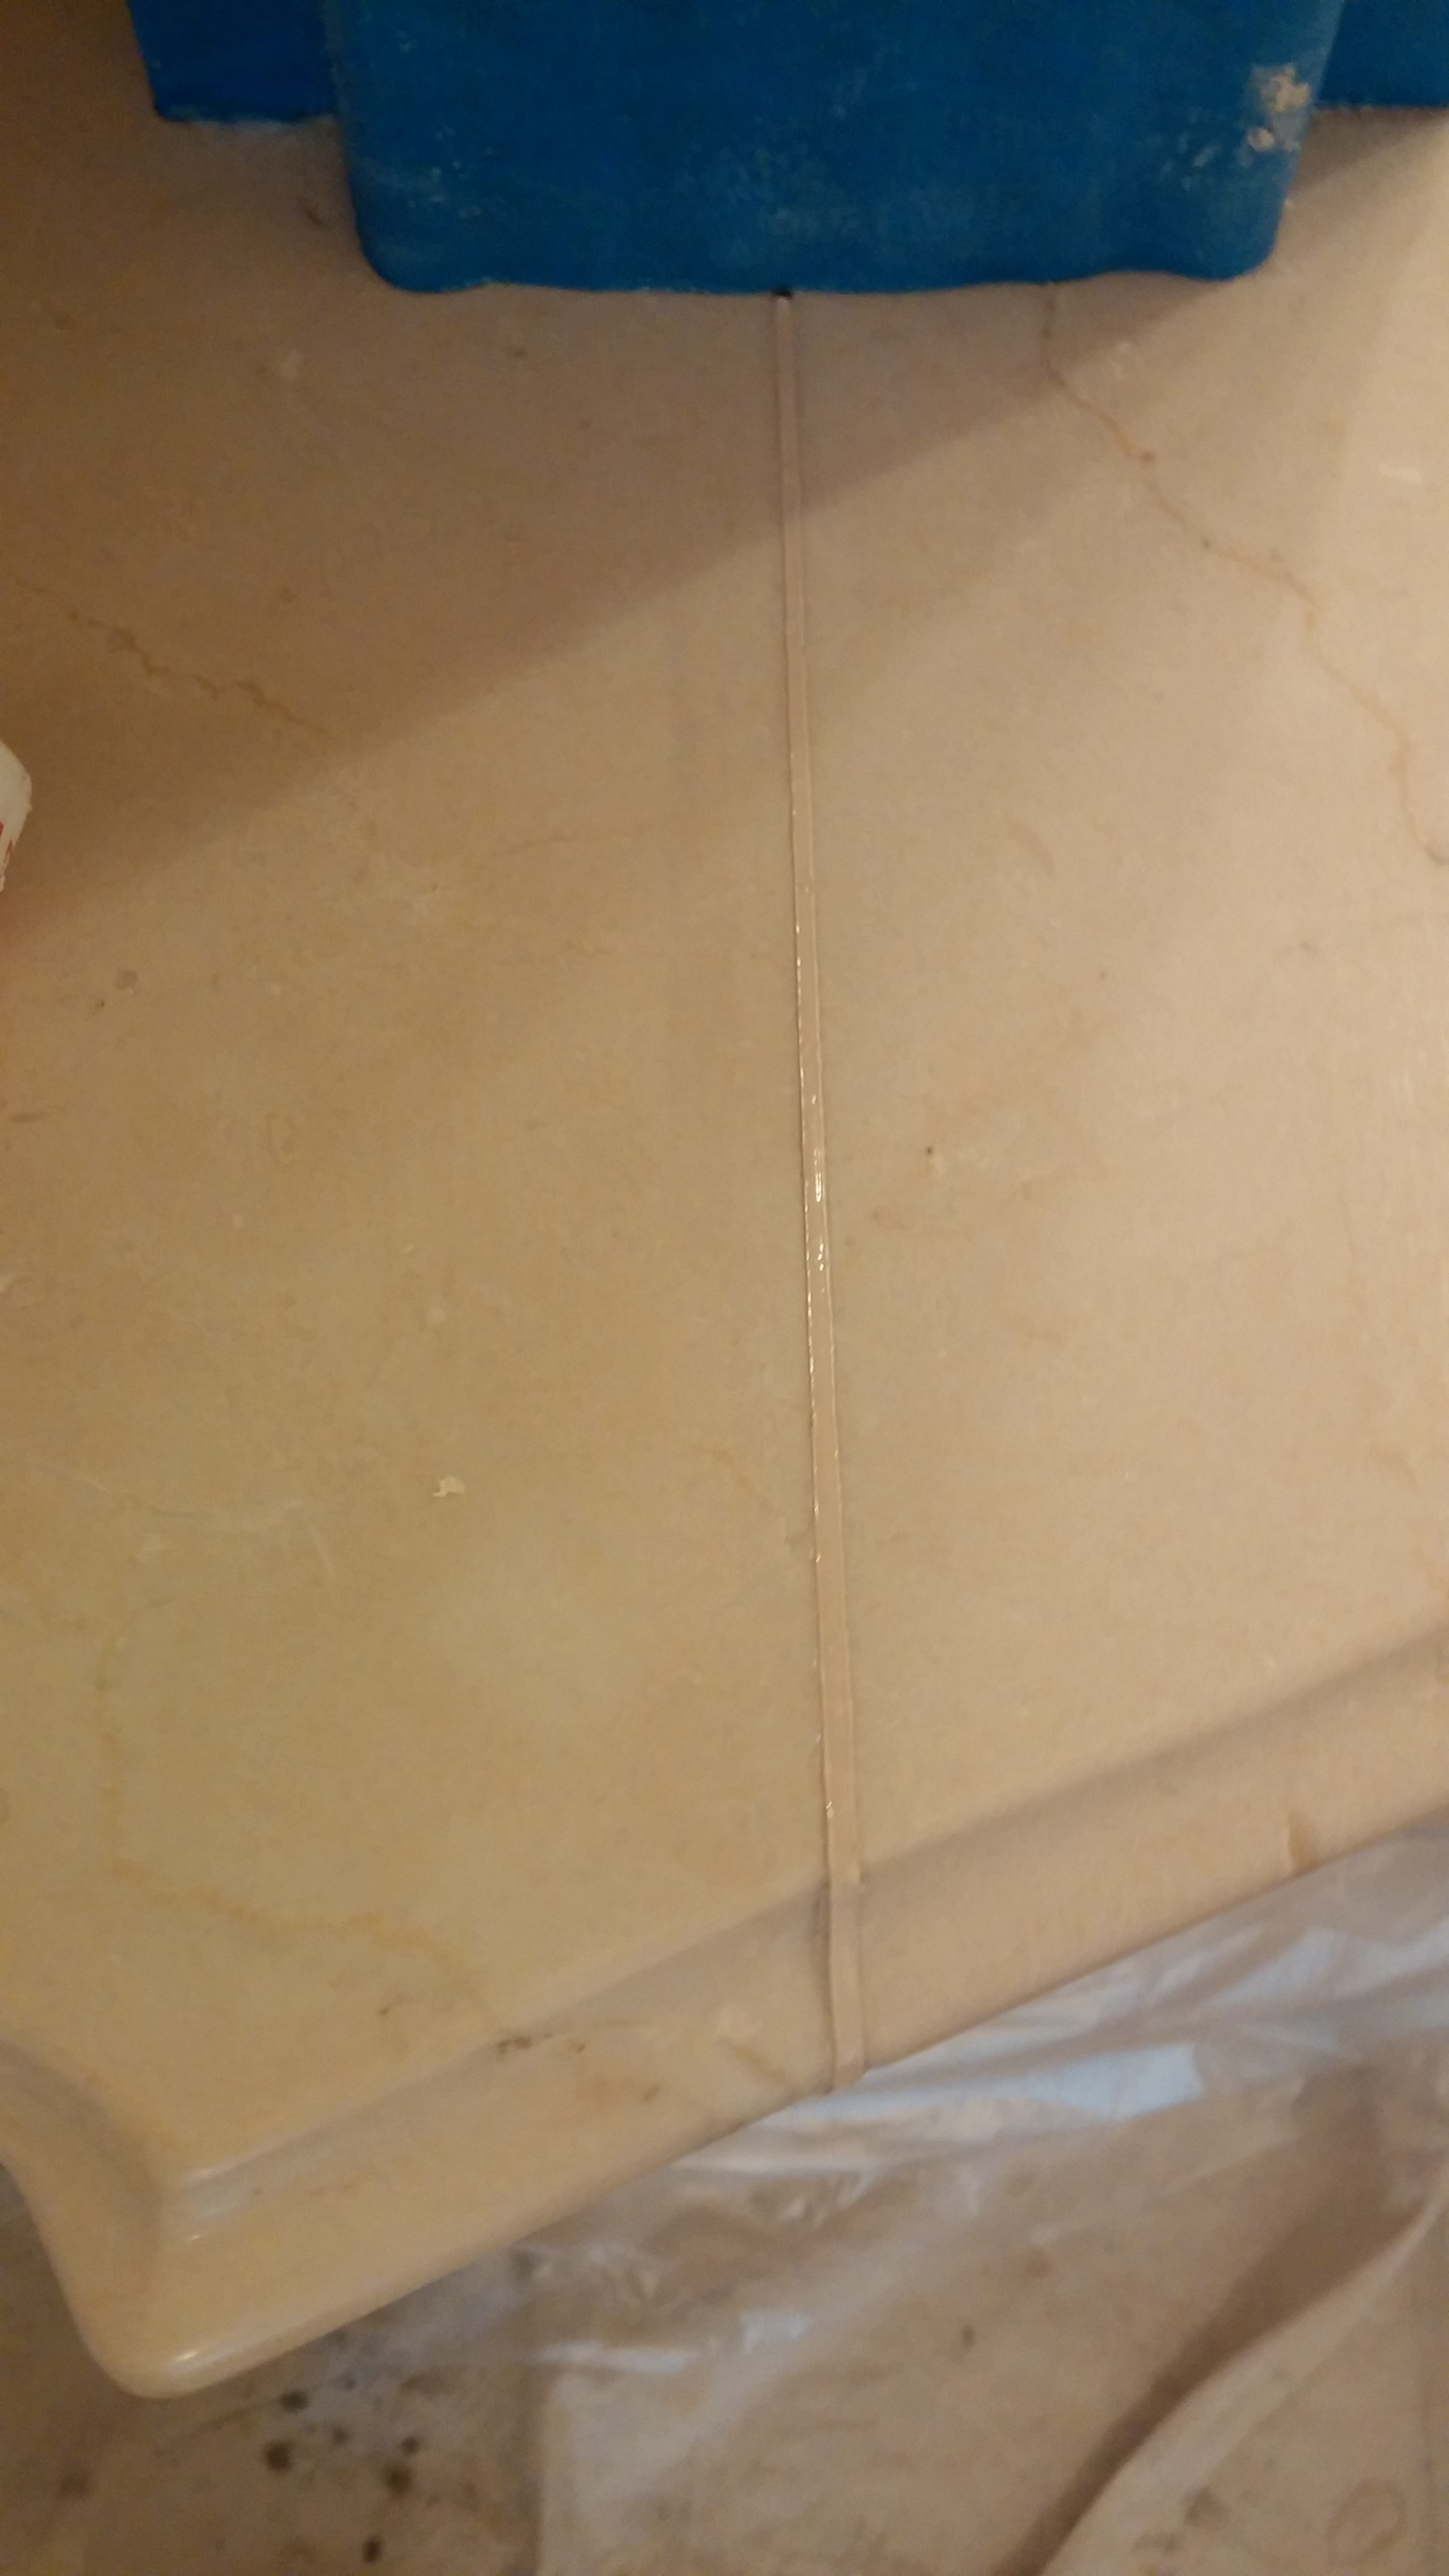
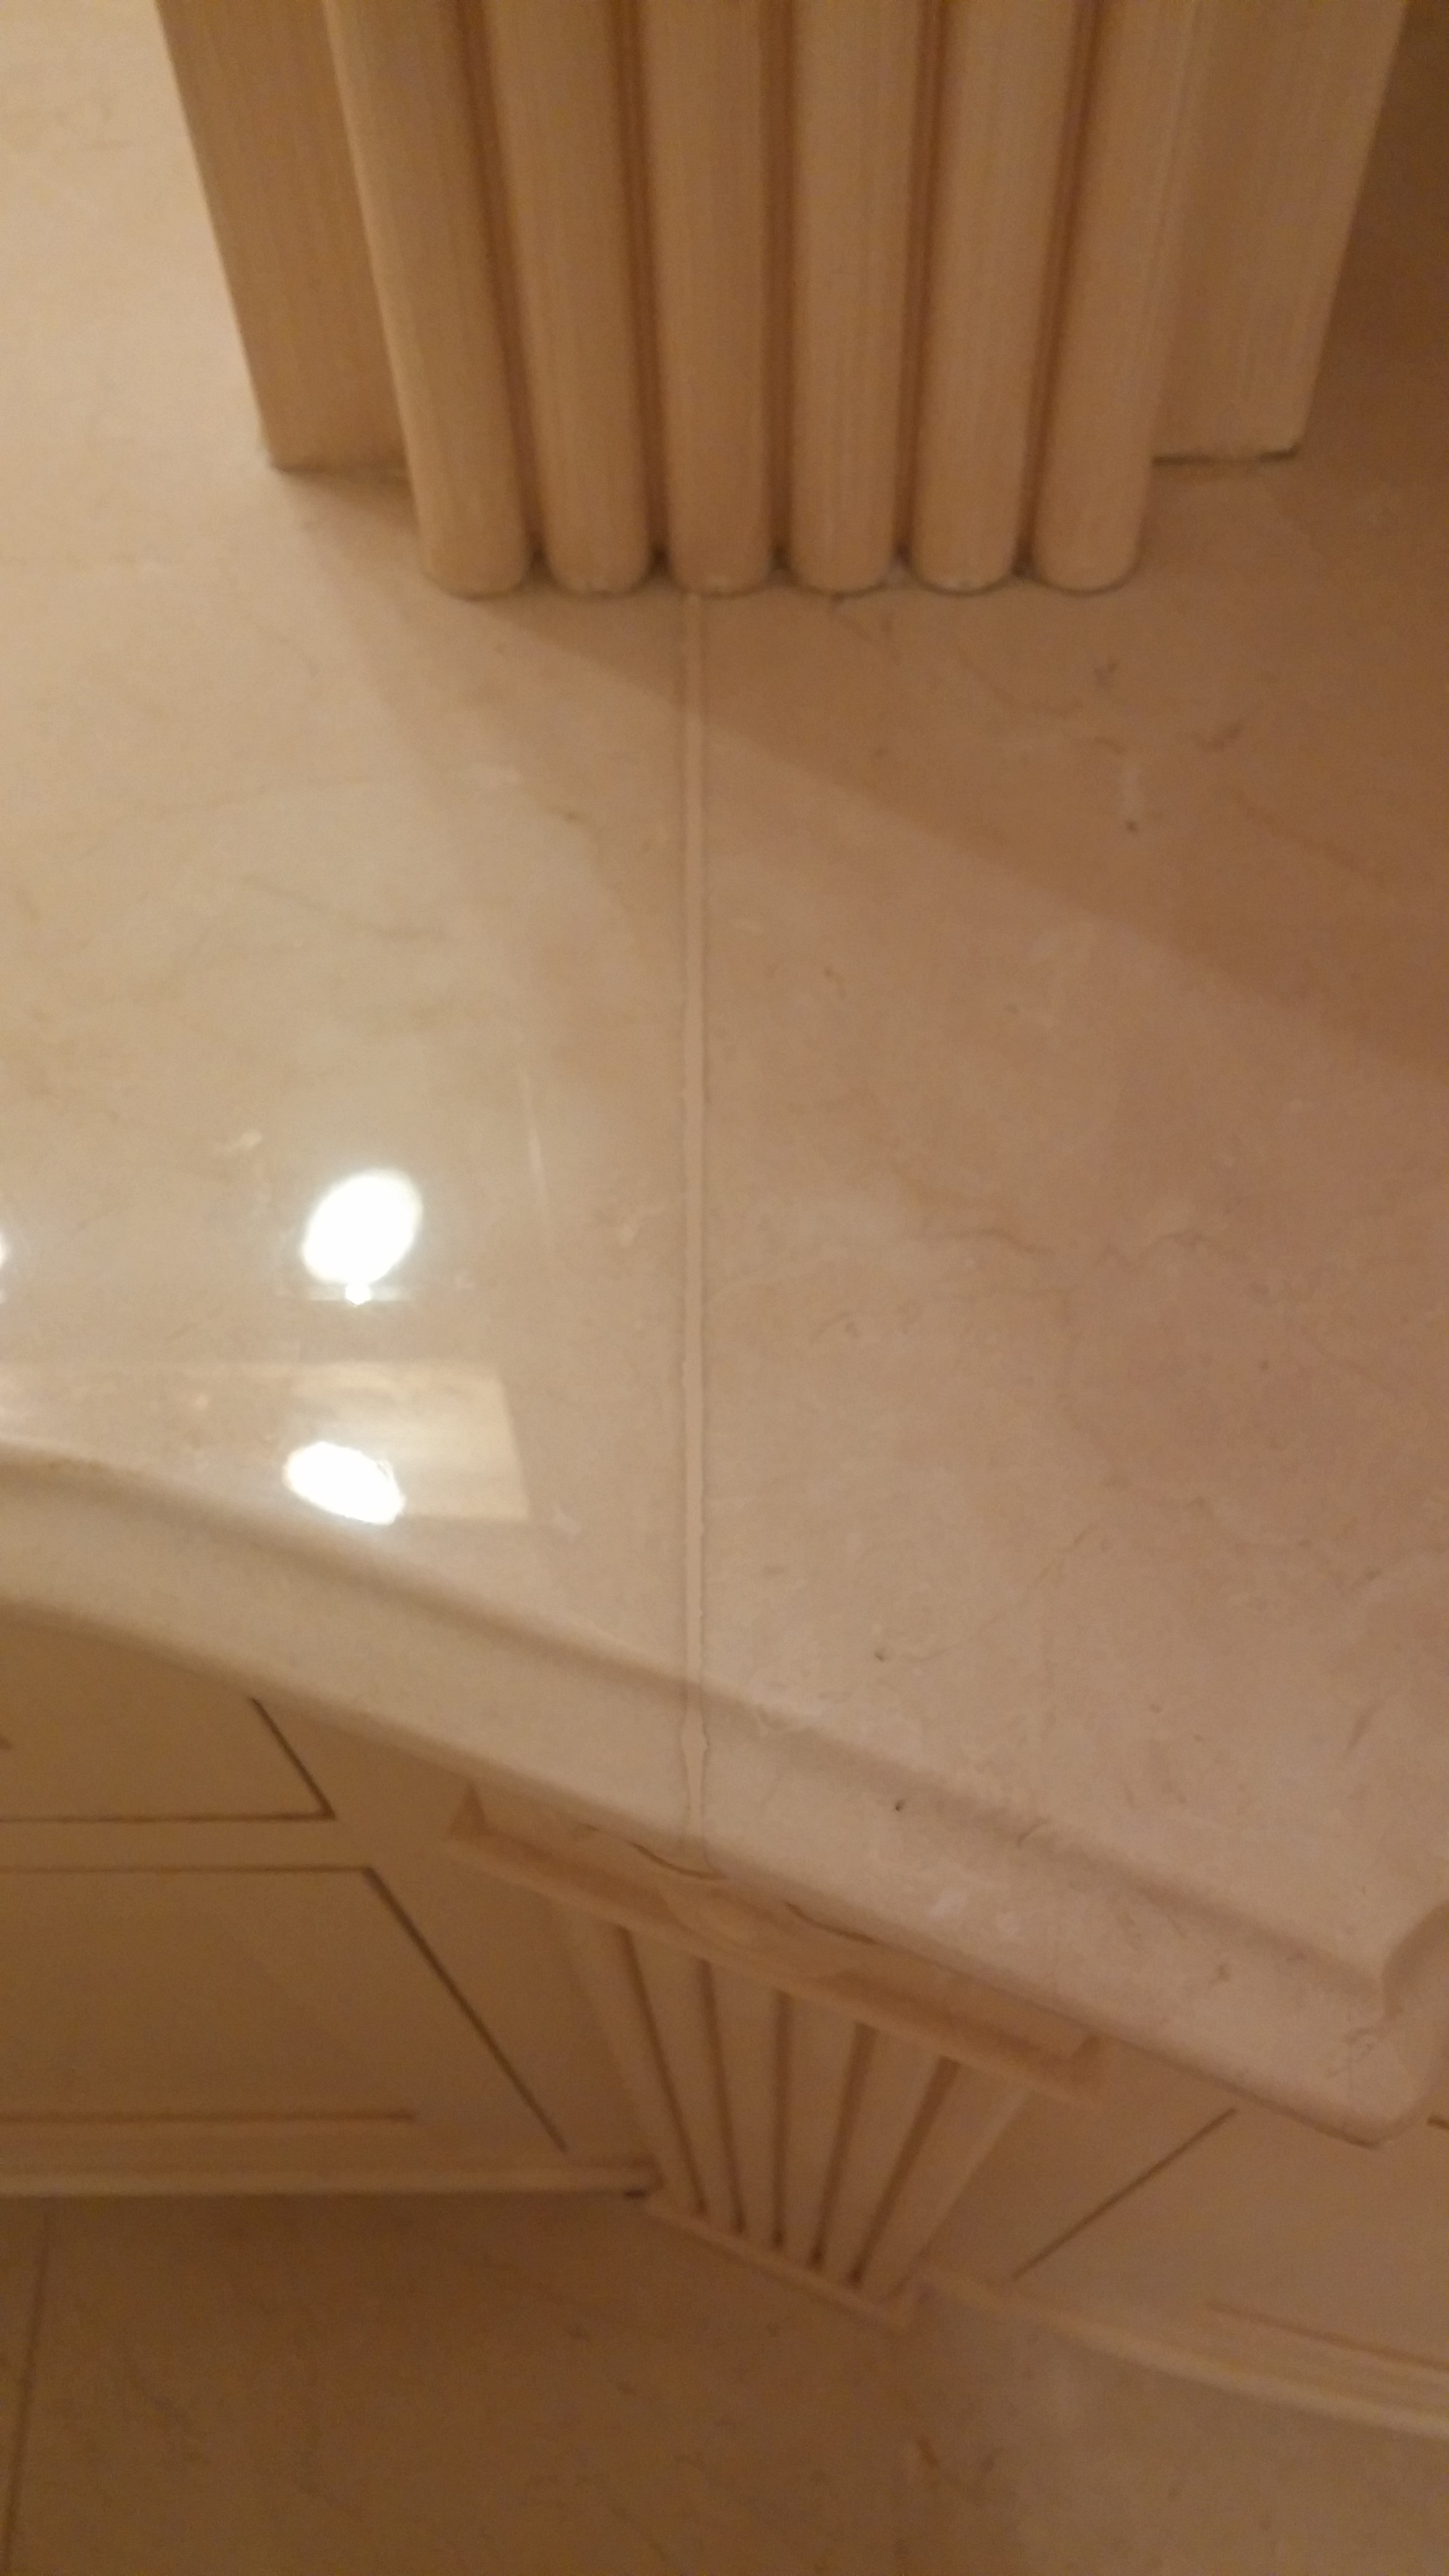
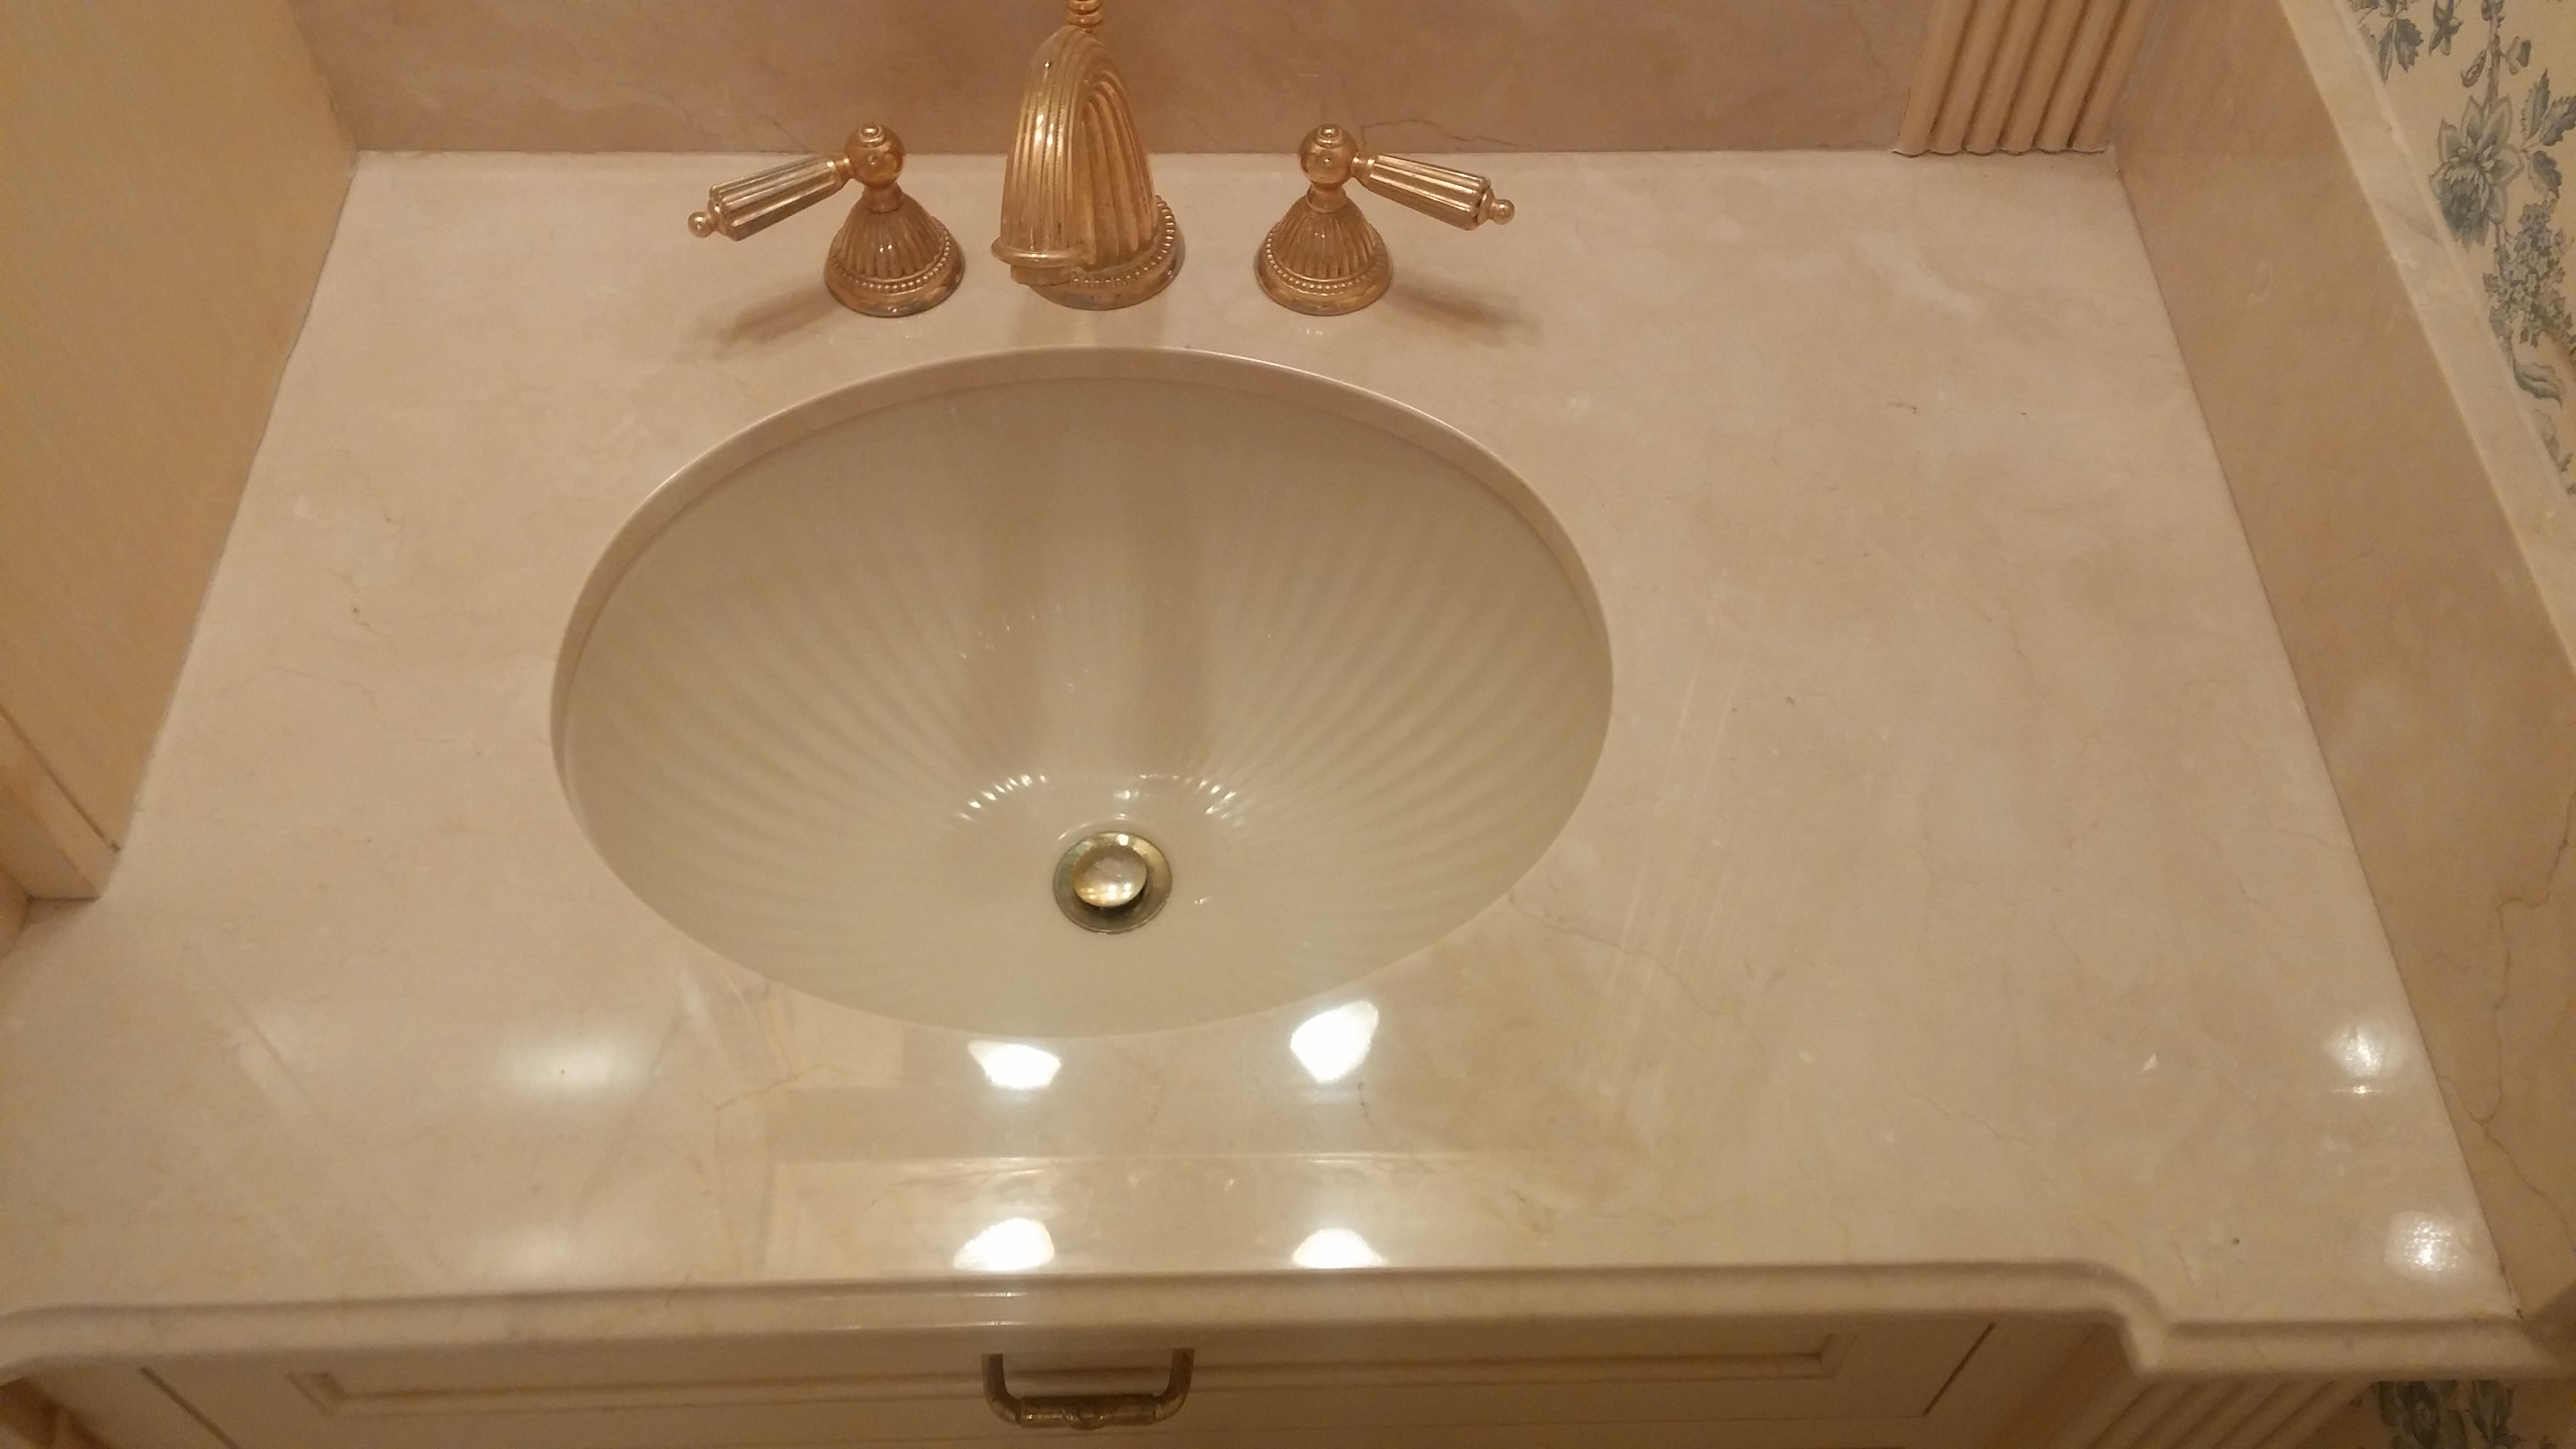
5) The seam repairs after the vanity is completely restored.
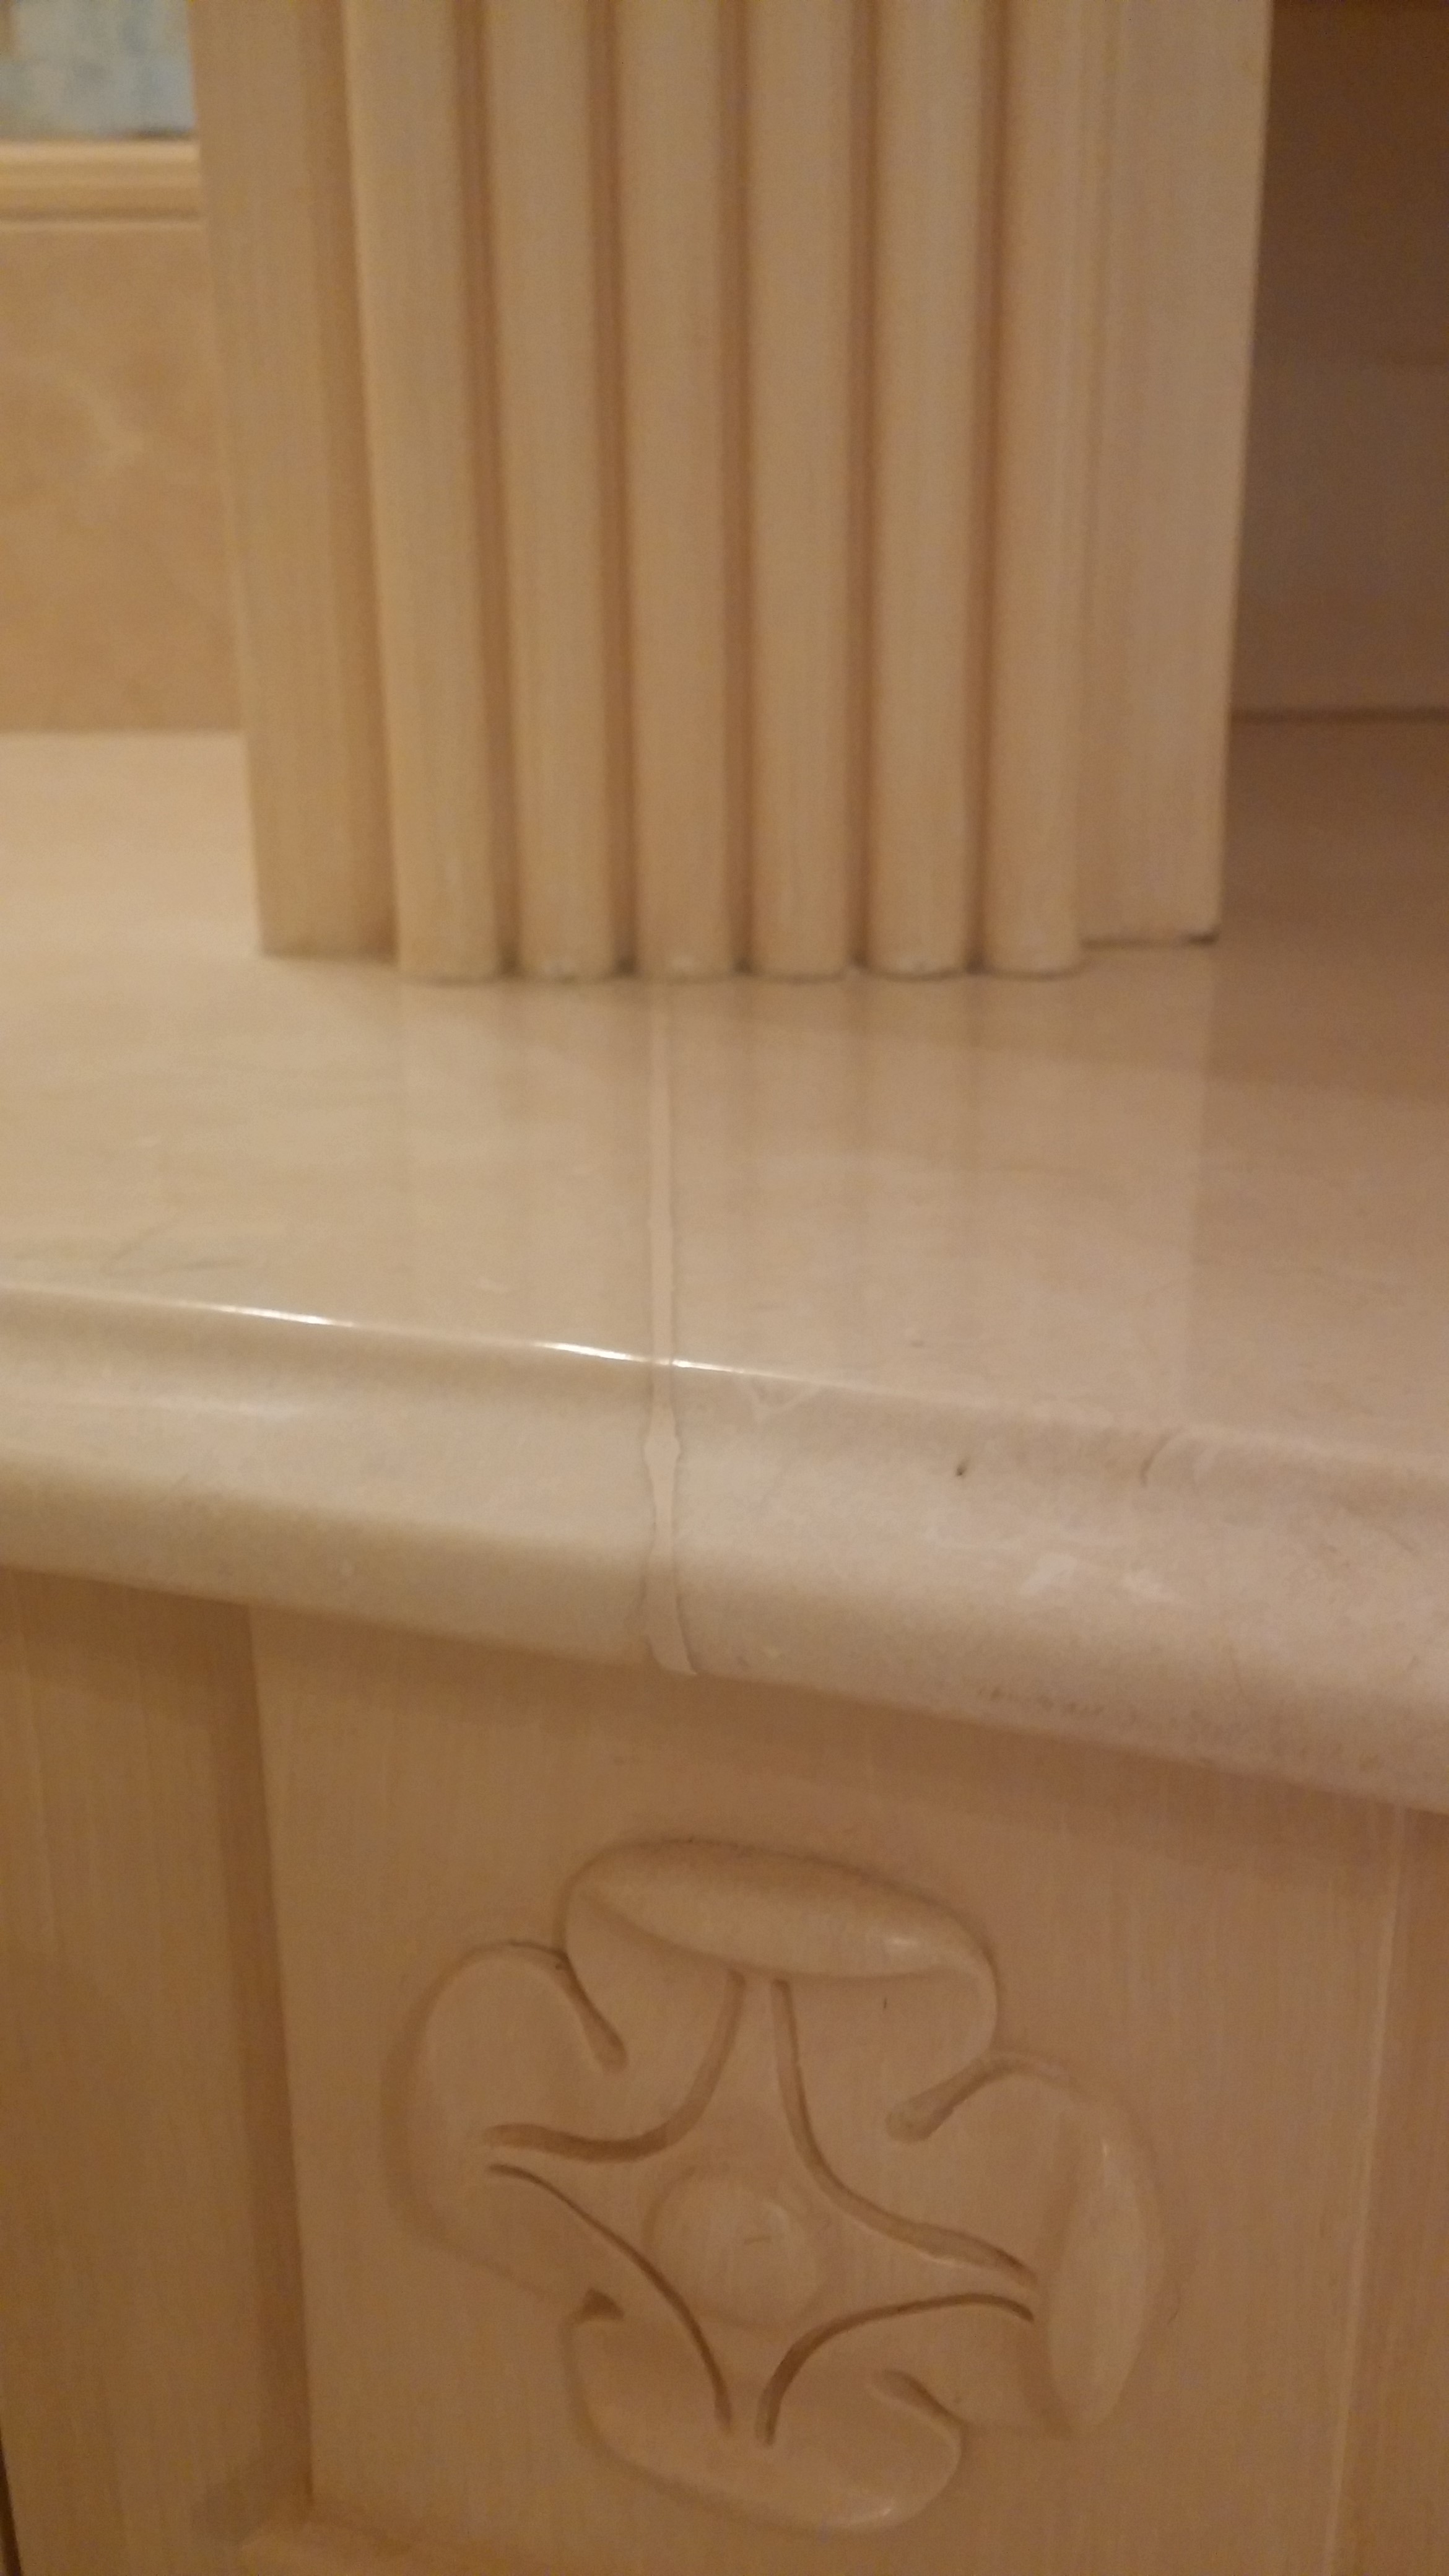
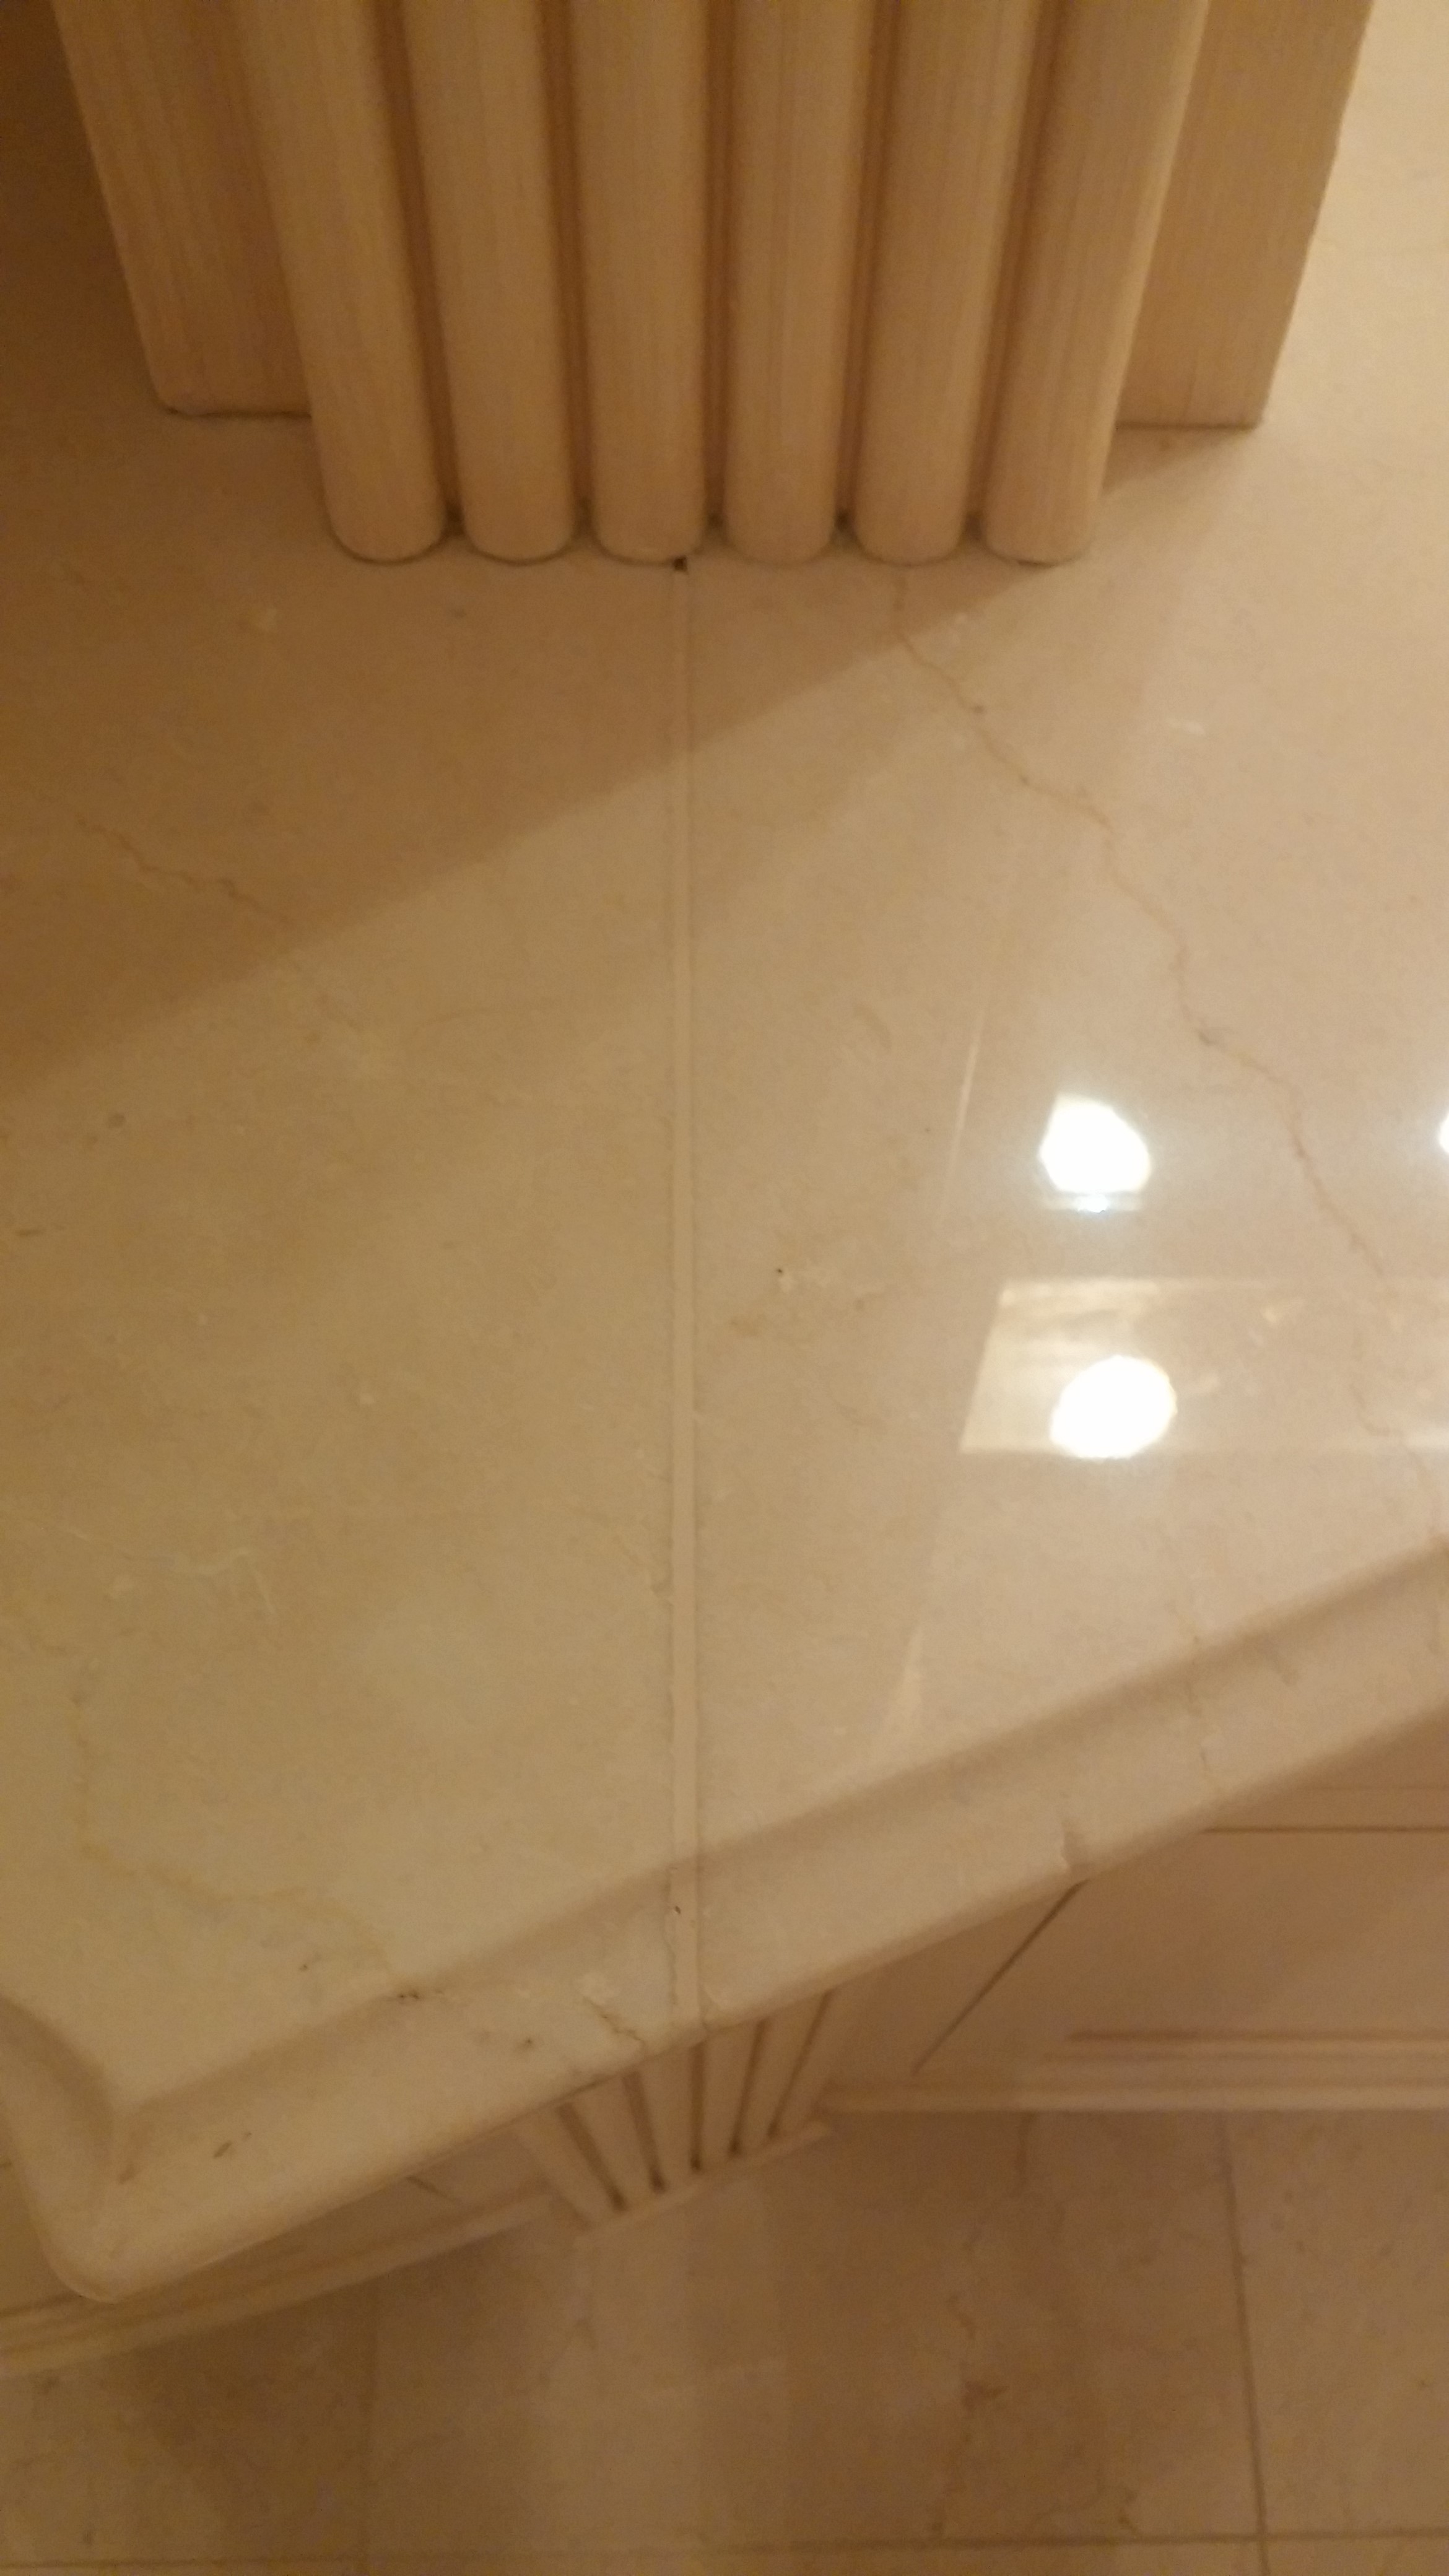
6) Photos of the entire vanity after the repairs and restoration are complete.

For additional information on your marble, granite, travertine, terrazzo or other natural stone and grout, please visit our Case Studies or Care Tips page! If you have additional questions or would like to schedule a free estimate with one of our stone care experts, please contact us today!